What Changed — A First Tour Through DisplayHive
It has been a while since the website launch post, and even longer since the very first lines of DisplayHive were written. Back then, the software was — let’s be honest — barely more than a proof of concept. There was no real login, no way to say who was allowed to do what, and a whole list of “yeah, that’s missing for now” items that would come up every time someone new looked at the project.
A lot has happened since. This post is split into two parts: first, a look at what used to be missing and isn’t anymore, and second, a proper guided tour through the admin panel as it stands today — with plenty of screenshots along the way.
Part 1: The Limitations That Are Gone
There’s a real login now
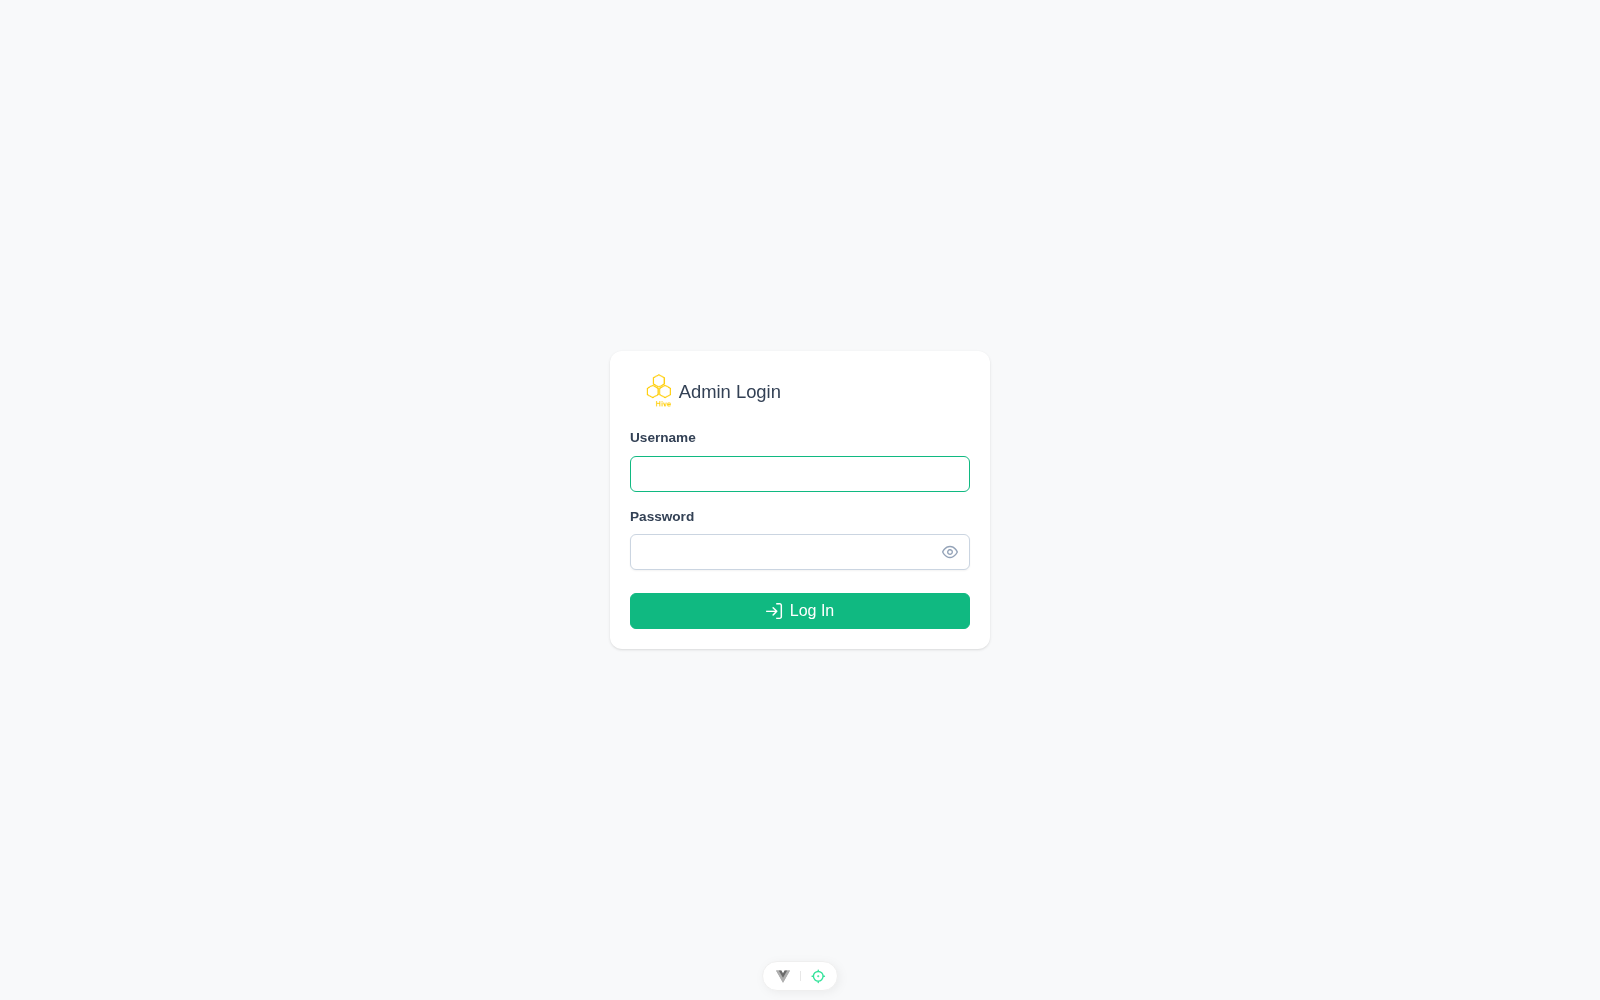
Early builds of DisplayHive didn’t really have an authentication story. That’s no longer the case. On first startup, DisplayHive now creates an admin account automatically, with a password that’s either fixed via configuration or randomly generated and printed once to the server logs. Logging in gets you a proper JSON Web Token session, and repeated failed login attempts from the same IP or username get rate-limited and temporarily locked out.
Rights and groups — access isn’t all-or-nothing anymore
This is probably the biggest one. For a long time, if you had an account at all, you could see and do everything. That’s fine for a single admin running things alone, but it falls apart the moment more than one person touches an instance.
Now, access is controlled by rights — one per checkable action, things like media.upload, screens.page, or content.edit — which are granted through groups. Groups can be nested, so a subgroup inherits everything its parent grants, and a user can belong to multiple groups at once, with their effective permissions being the union of all of them. On top of that, individual accounts can get a per-user override for a specific right, either forcing it to allow regardless of group membership or deny no matter what any group says.
There’s also a built-in Superadmin group that always grants every right — including ones added in future updates — for the people who should always have full access, while everyone else lives in narrower, purpose-built groups.
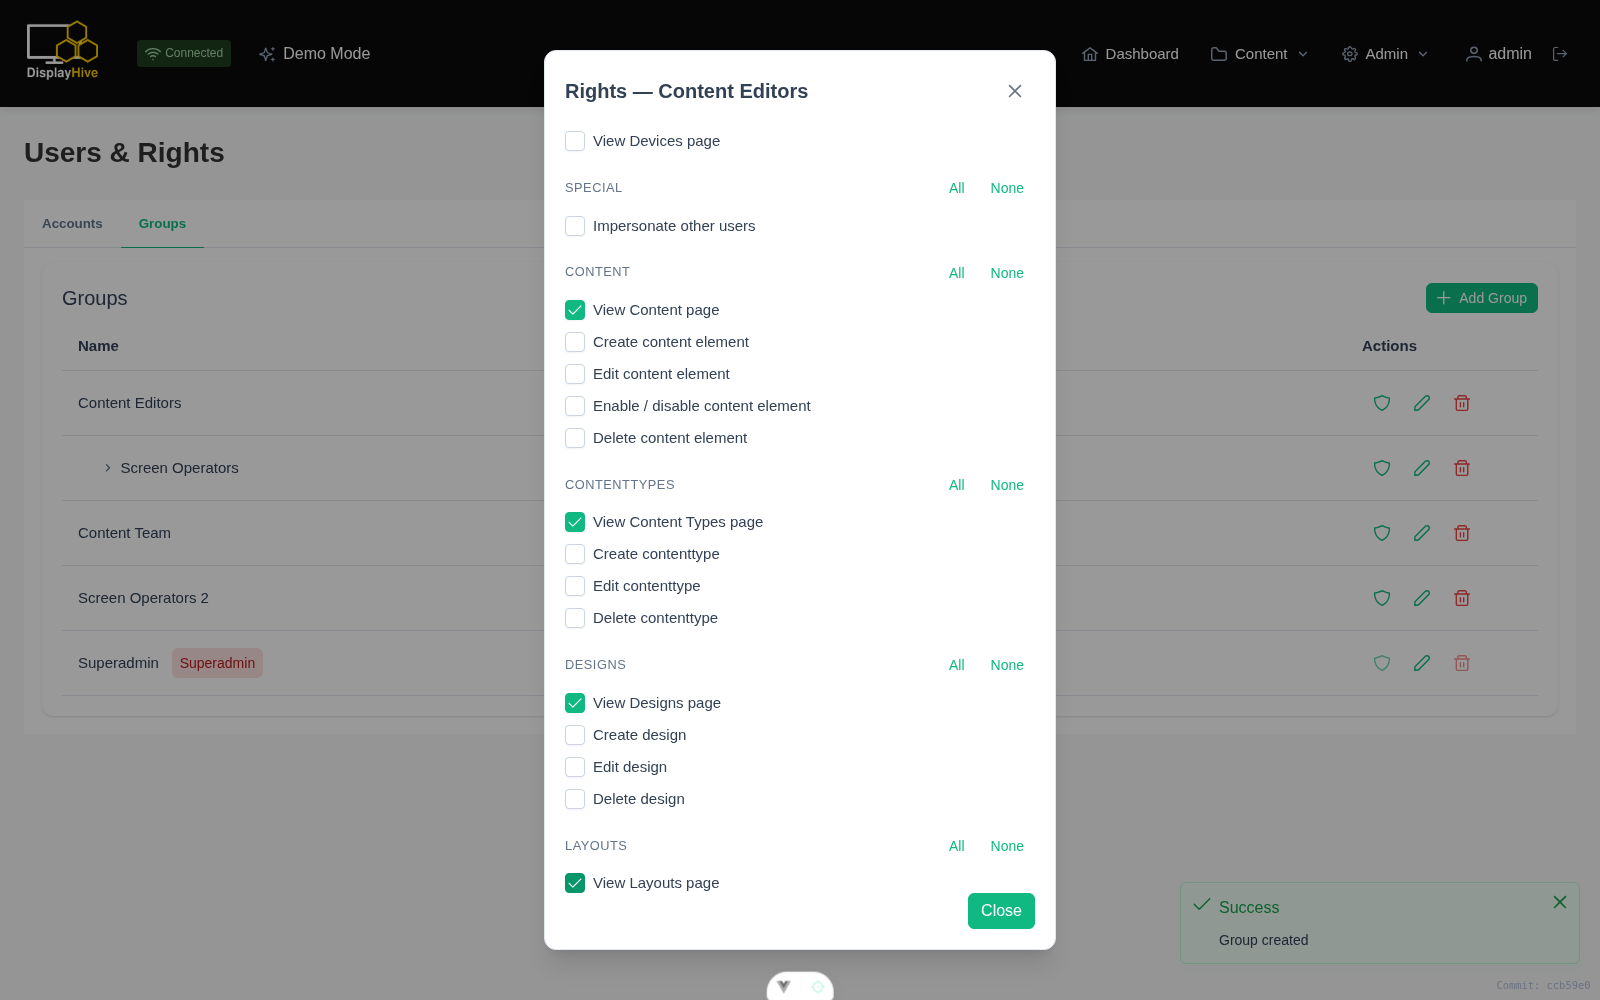
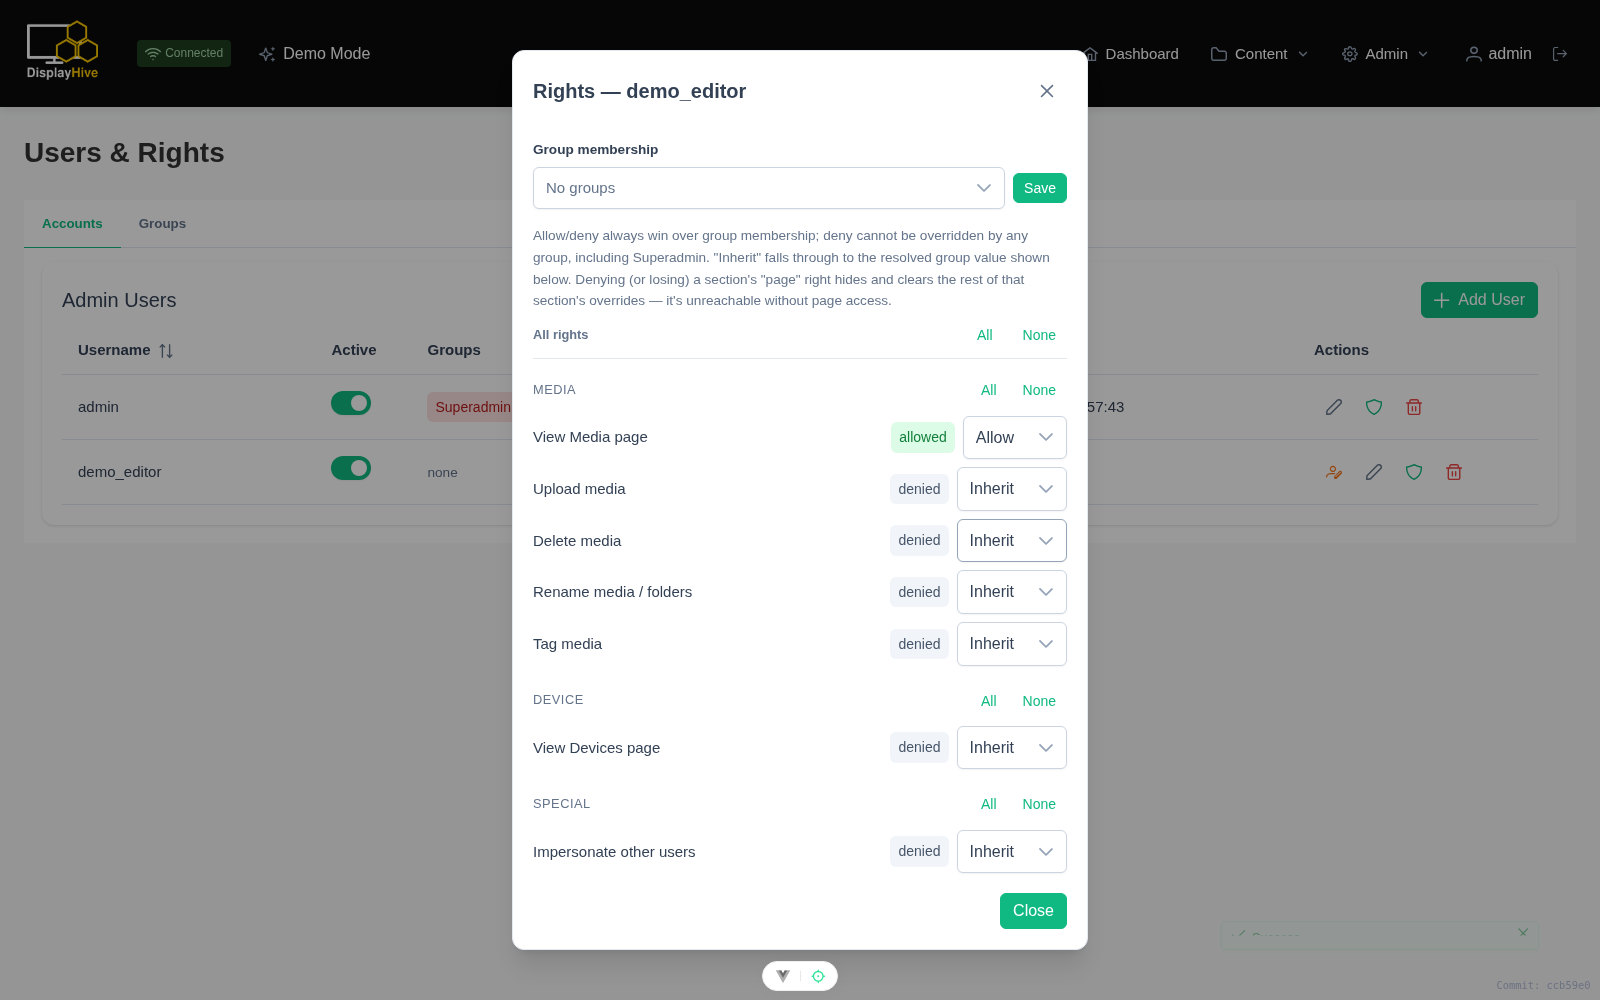
This isn’t just a checkbox that hides a menu item, either. It’s enforced down to individual buttons — a user might be able to view Media, for example, without being allowed to delete it.
Unfortunately, for now there is no “content-based” rights system. This means that while you can set rights on actions, you can’t set a right on specific screens, content elements, and so on.
Account management
Accounts themselves can now be created, deactivated, reactivated, or deleted from a dedicated Accounts tab — no more digging through a database to disable someone’s access.
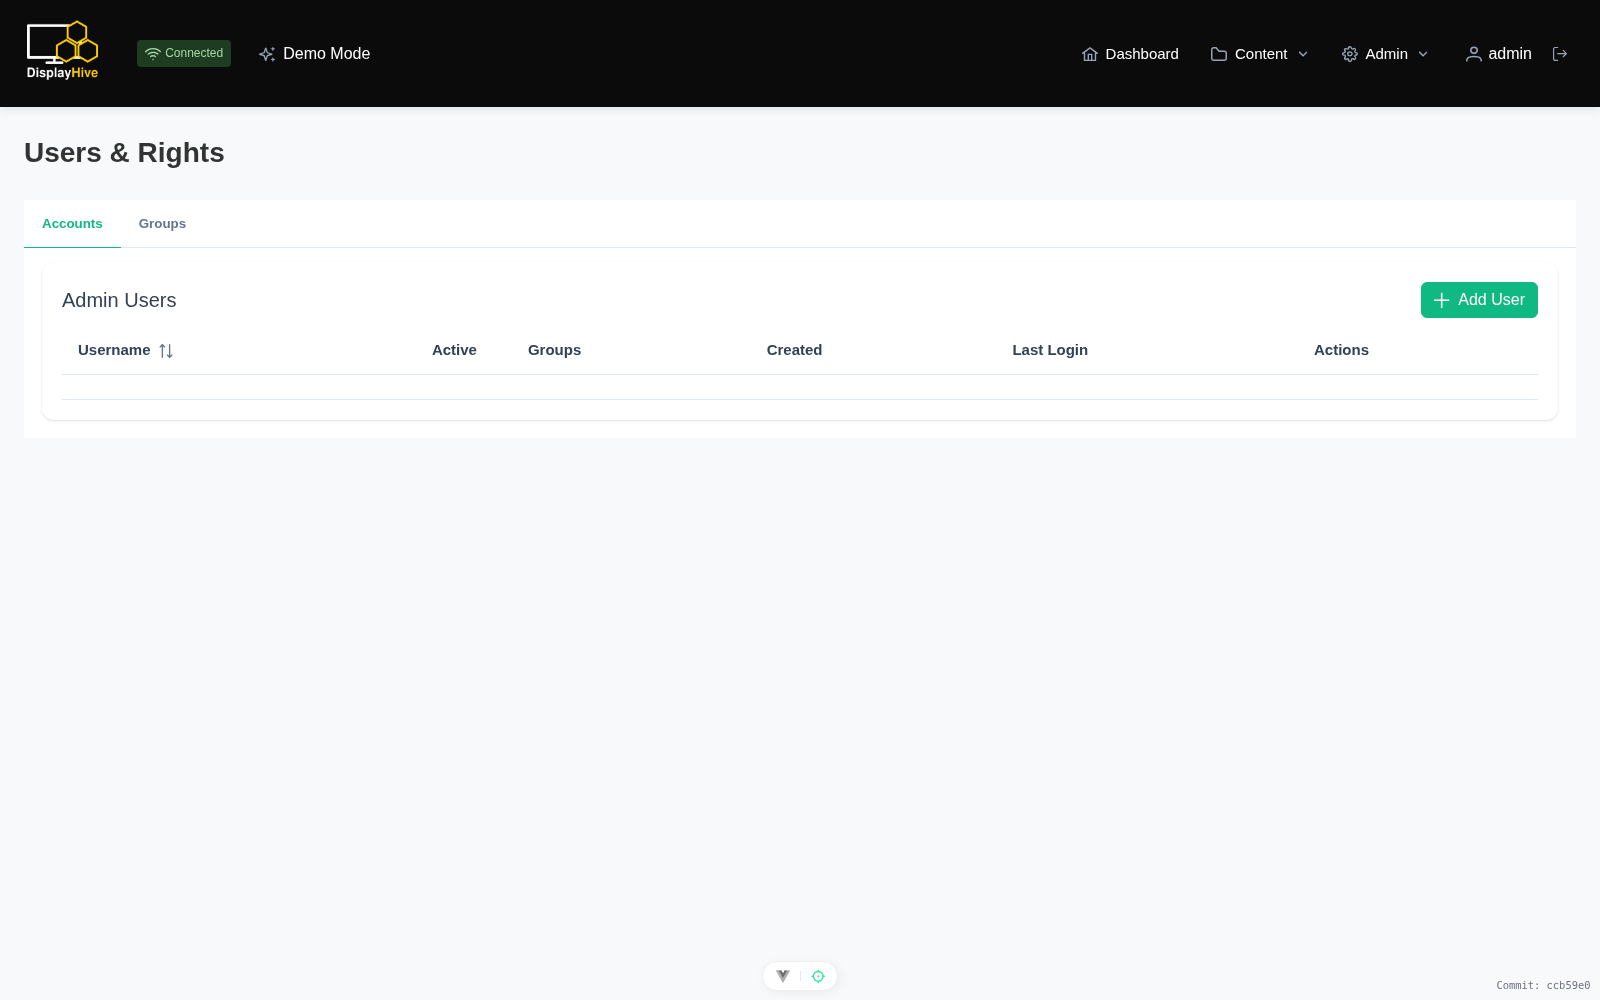
With login, rights, and account management in place, DisplayHive has gone from “one person’s tool” to something an actual team can run together, with everyone seeing exactly as much of the admin panel as they should.
Documentation is finally a thing
Speaking of things that used to be missing: documentation used to be, quite literally, a blank page. That’s no longer true either. There’s now a basic user and developer guide, covering many things from installation to layouts, designs, magic tags, screens/devices/groups, rights & groups, integrations, and import/export. You can take a look at displayhive.github.io/DisplayHive.
Even though there’s basic documentation now, it’s still lacking a lot of things. Your help is appreciated ;)
Part 2: A First Tour Through the Admin Panel
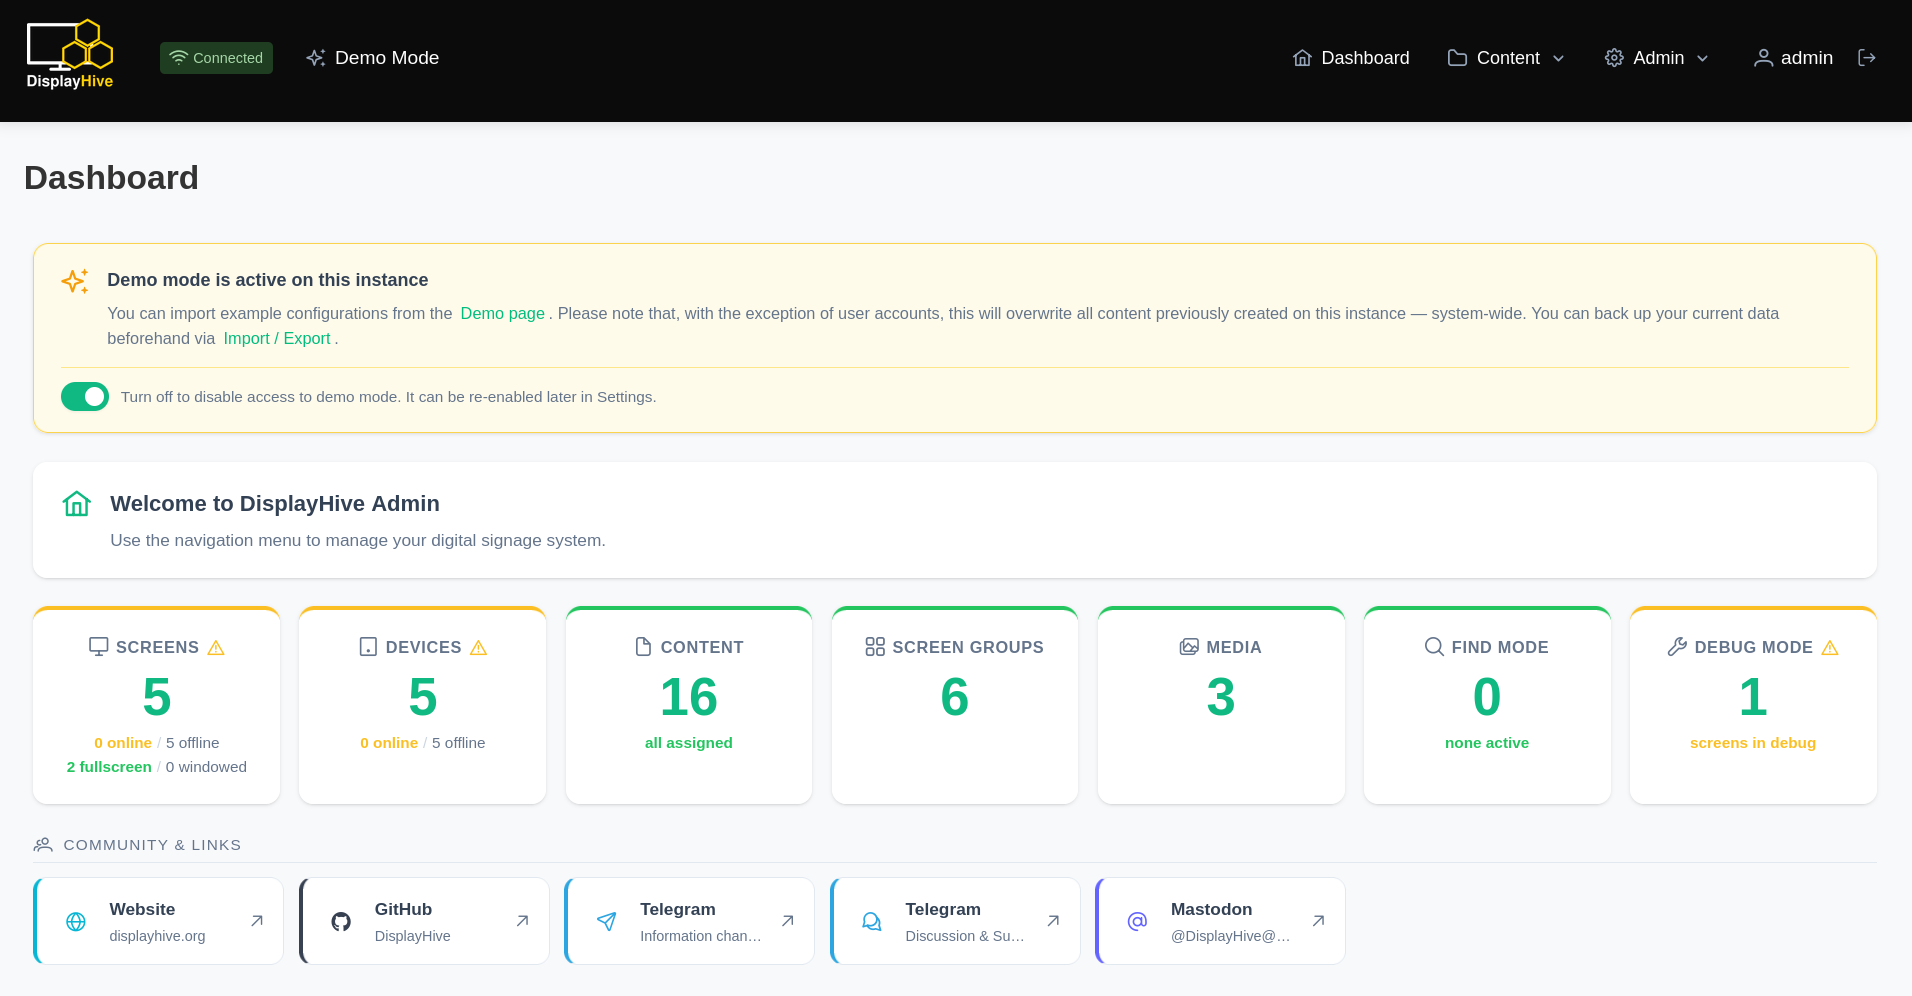
With the housekeeping out of the way, let’s actually walk through what running DisplayHive day-to-day looks like. Everything below happens in the admin panel, and every change described here pushes to screens live — there’s no publish button, no cache to clear, no waiting.
The big picture
DisplayHive separates a few core concepts that all fit together: layouts define where content goes, designs define what it looks like, content types define what fields an editor fills in, and content is the actual stuff that ends up on screen. Separately, physical devices connect over Socket.IO, get mapped to logical screens, and screens get organized into screen groups that content actually targets.
Sounds complicated? Yes. Is it? No.
This staged approach is very domain-oriented. Nothing gets mixed up, and responsibilities stay clear even for users in larger environments. It’s much clearer with a look at one of the included demos. (Unfortunately, at this time there is only the event demo — the others will be updated to the new design system step by step.)
Layouts — laying out containers on a canvas
A layout is a named, reusable group of positioned containers, created and arranged in a drag-and-drop editor. Draw a brand-new container by dragging across empty canvas space, or drag an existing one in from the picker. Snaplines help align containers against the canvas edges, the center, or each other while you’re dragging them around, and resizing is a simple corner-handle drag.
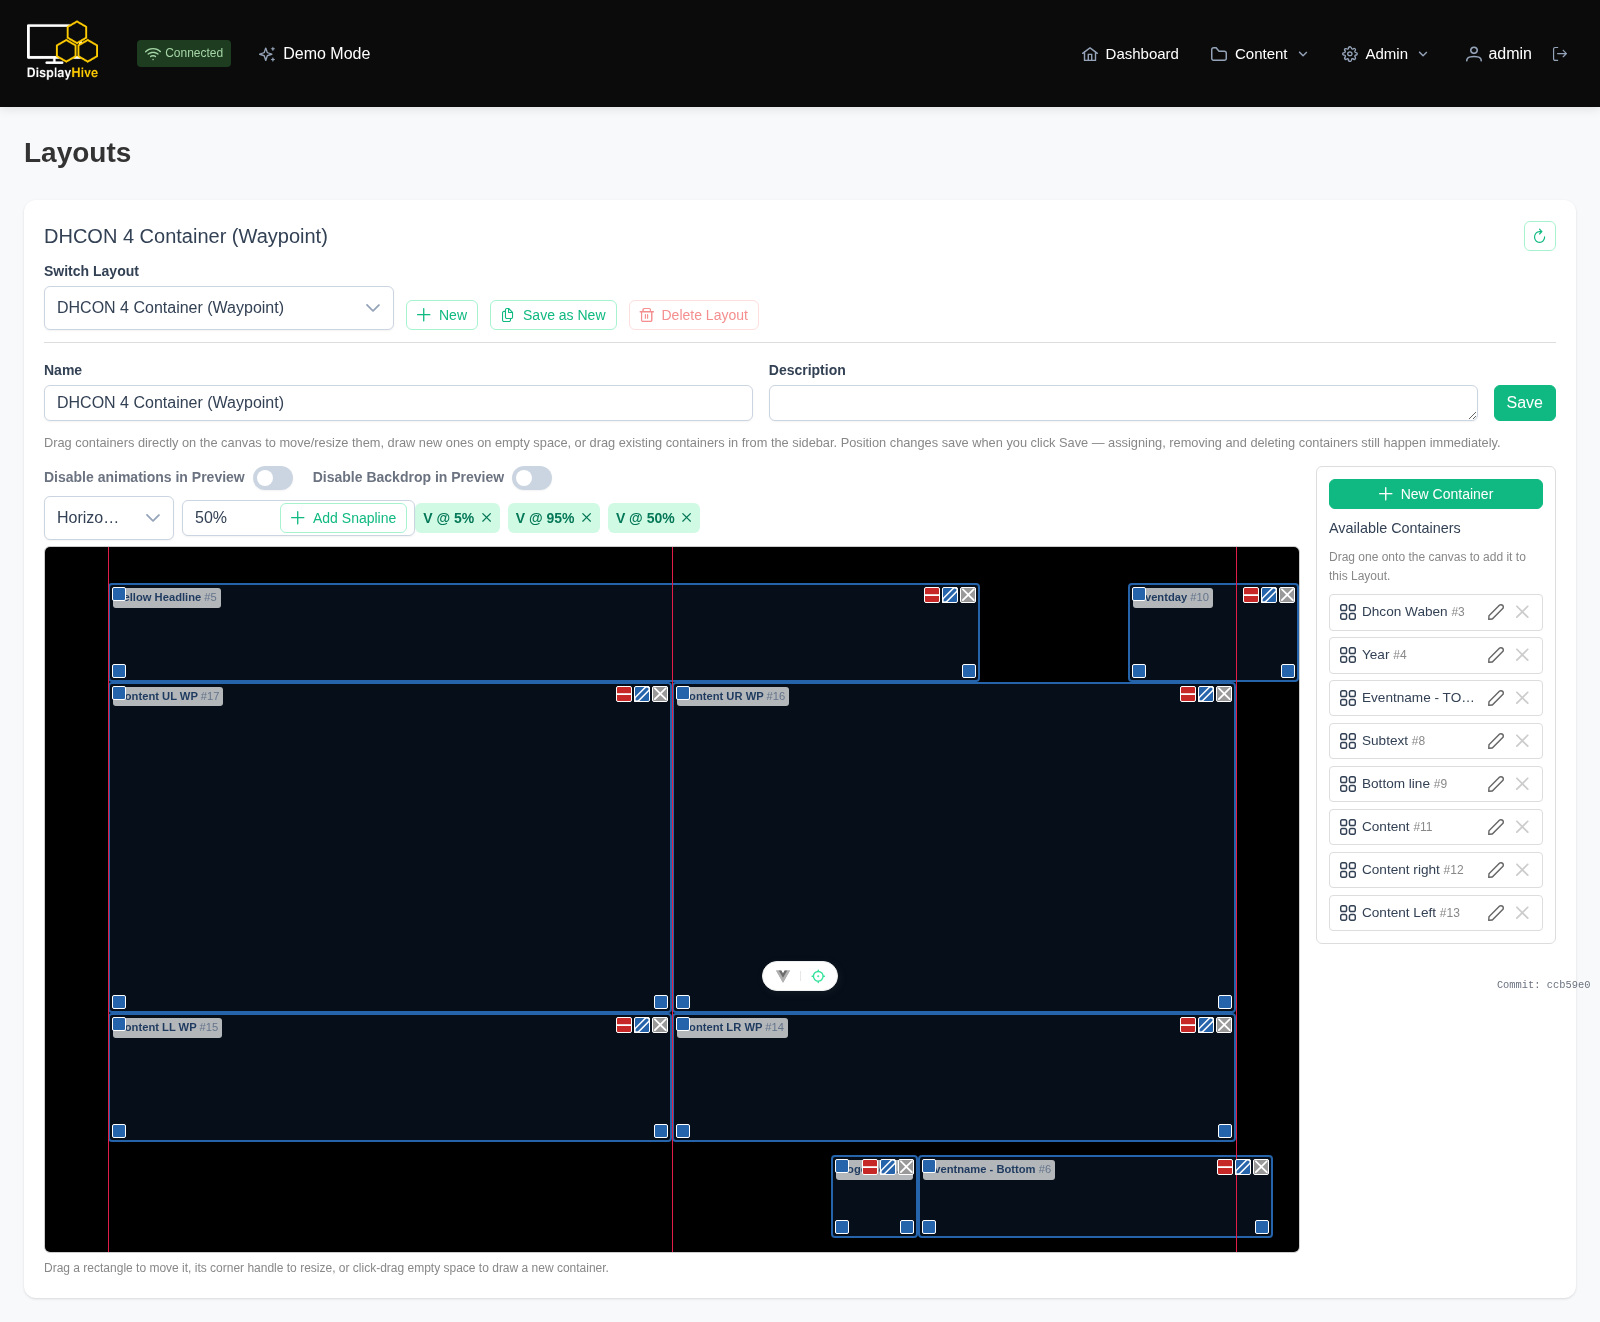
One detail that trips people up at first: a container’s position and size are shared everywhere that container is reused. Move it in one layout, and it moves in every layout that uses it — layouts are about grouping and scoping containers, not owning them outright.
This means that a logo rendered into such a container is in exactly the same position in every layout.
Designs — the instance-wide skin
A design controls the visual skin applied across the whole instance: backdrop color or image, stacked CSS gradients, an optional animated background, a named color palette used as quick-pick swatches throughout the editor, and CSS overrides either globally or per container. For now, only one design is supported per instance.
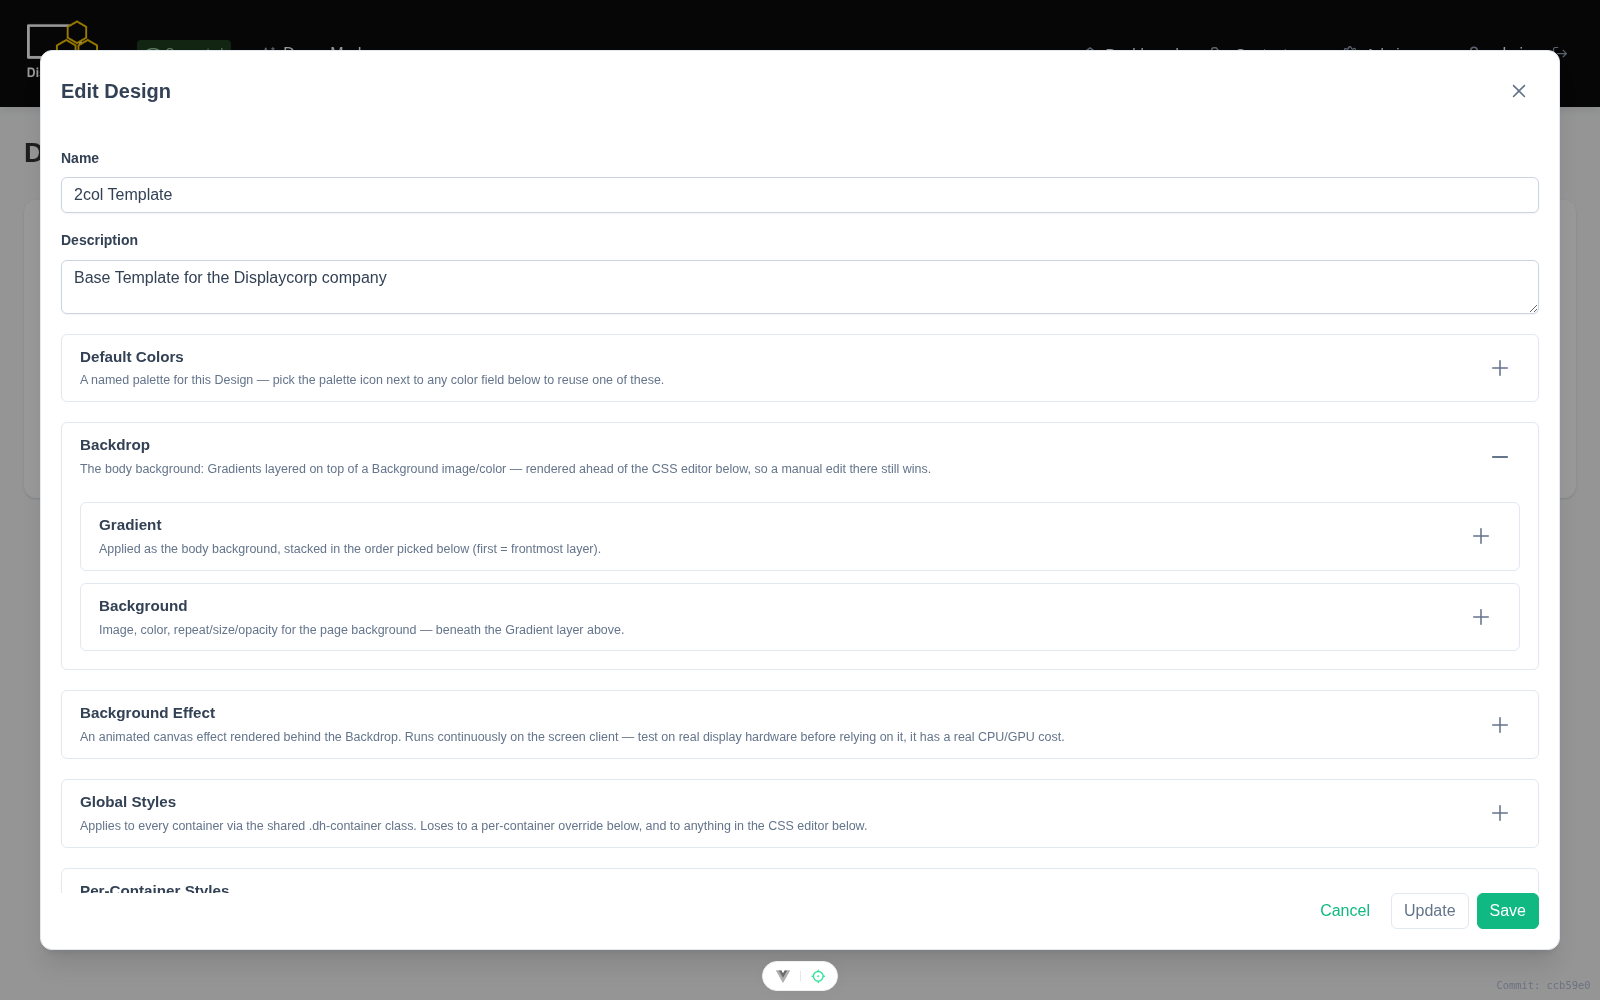
For anything the structured options don’t cover, a design can also carry hand-written HTML/CSS — so the visual ceiling is basically “however far you want to take it.”
Content types — reusable field schemas
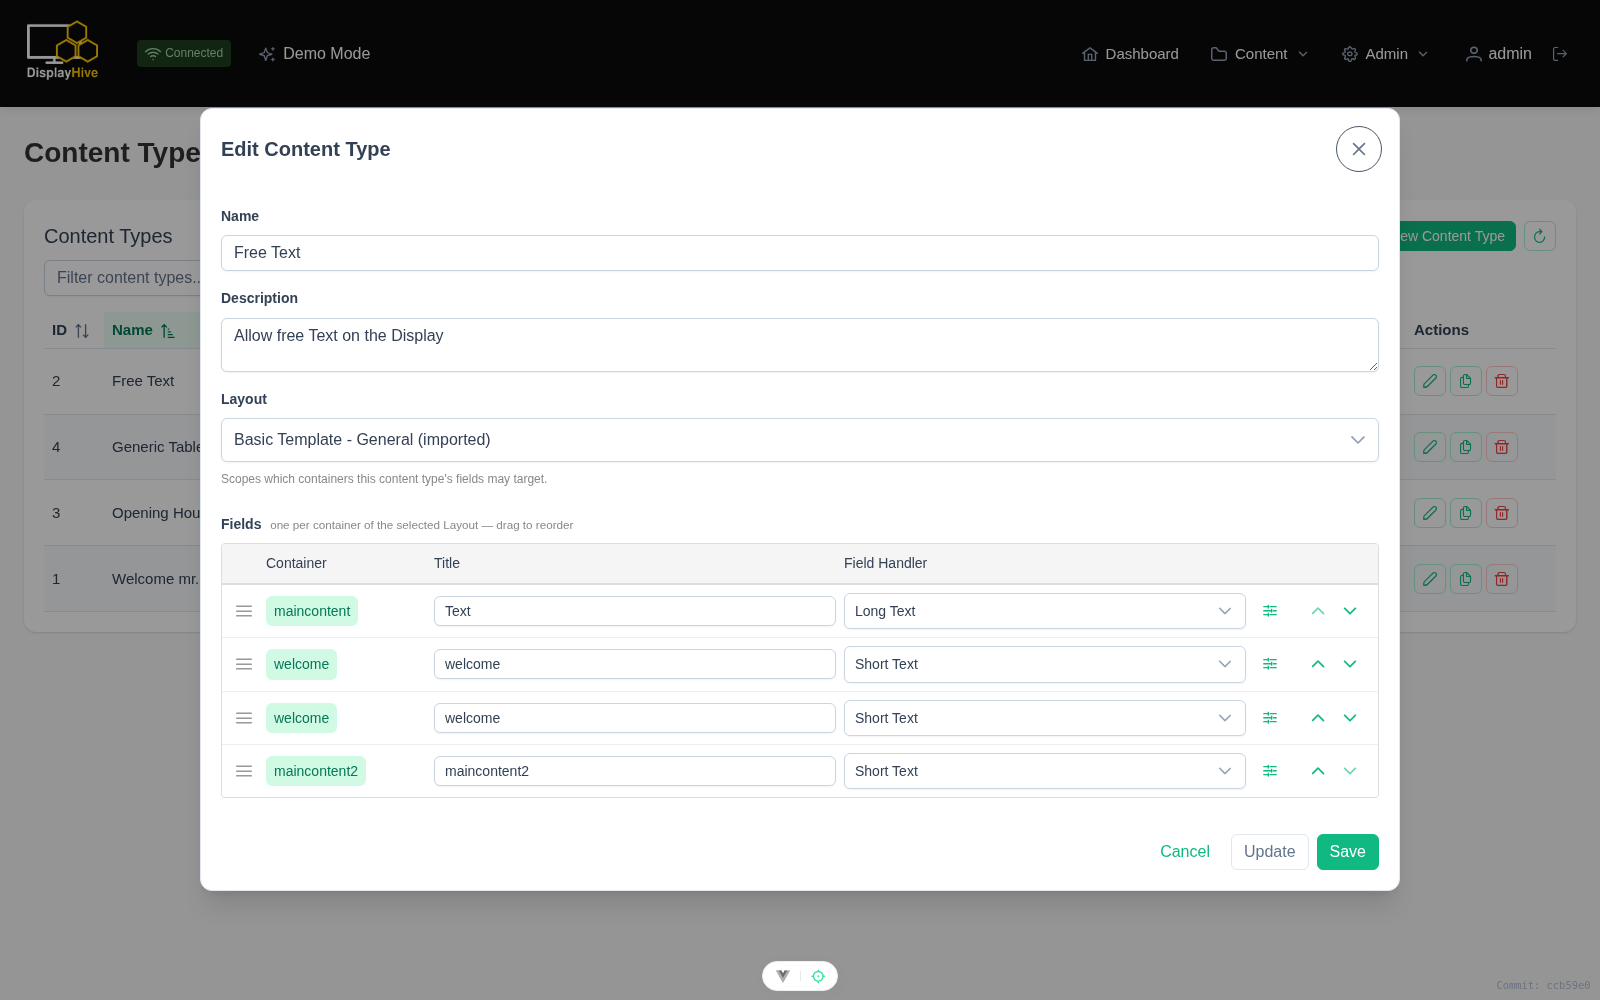
A content type is bound to one layout and declares a field per container that layout provides — short text, long text, WYSIWYG rich text, numbers, links, images, icons, arrows, formatted dates, tables, and even a live Pretalx schedule table. Each field can carry a preset default value, and parts of that default can be locked (editable but pre-filled) or hidden entirely — handy when a content type should only expose a subset of a field’s options for a particular use case or user.
Creating content
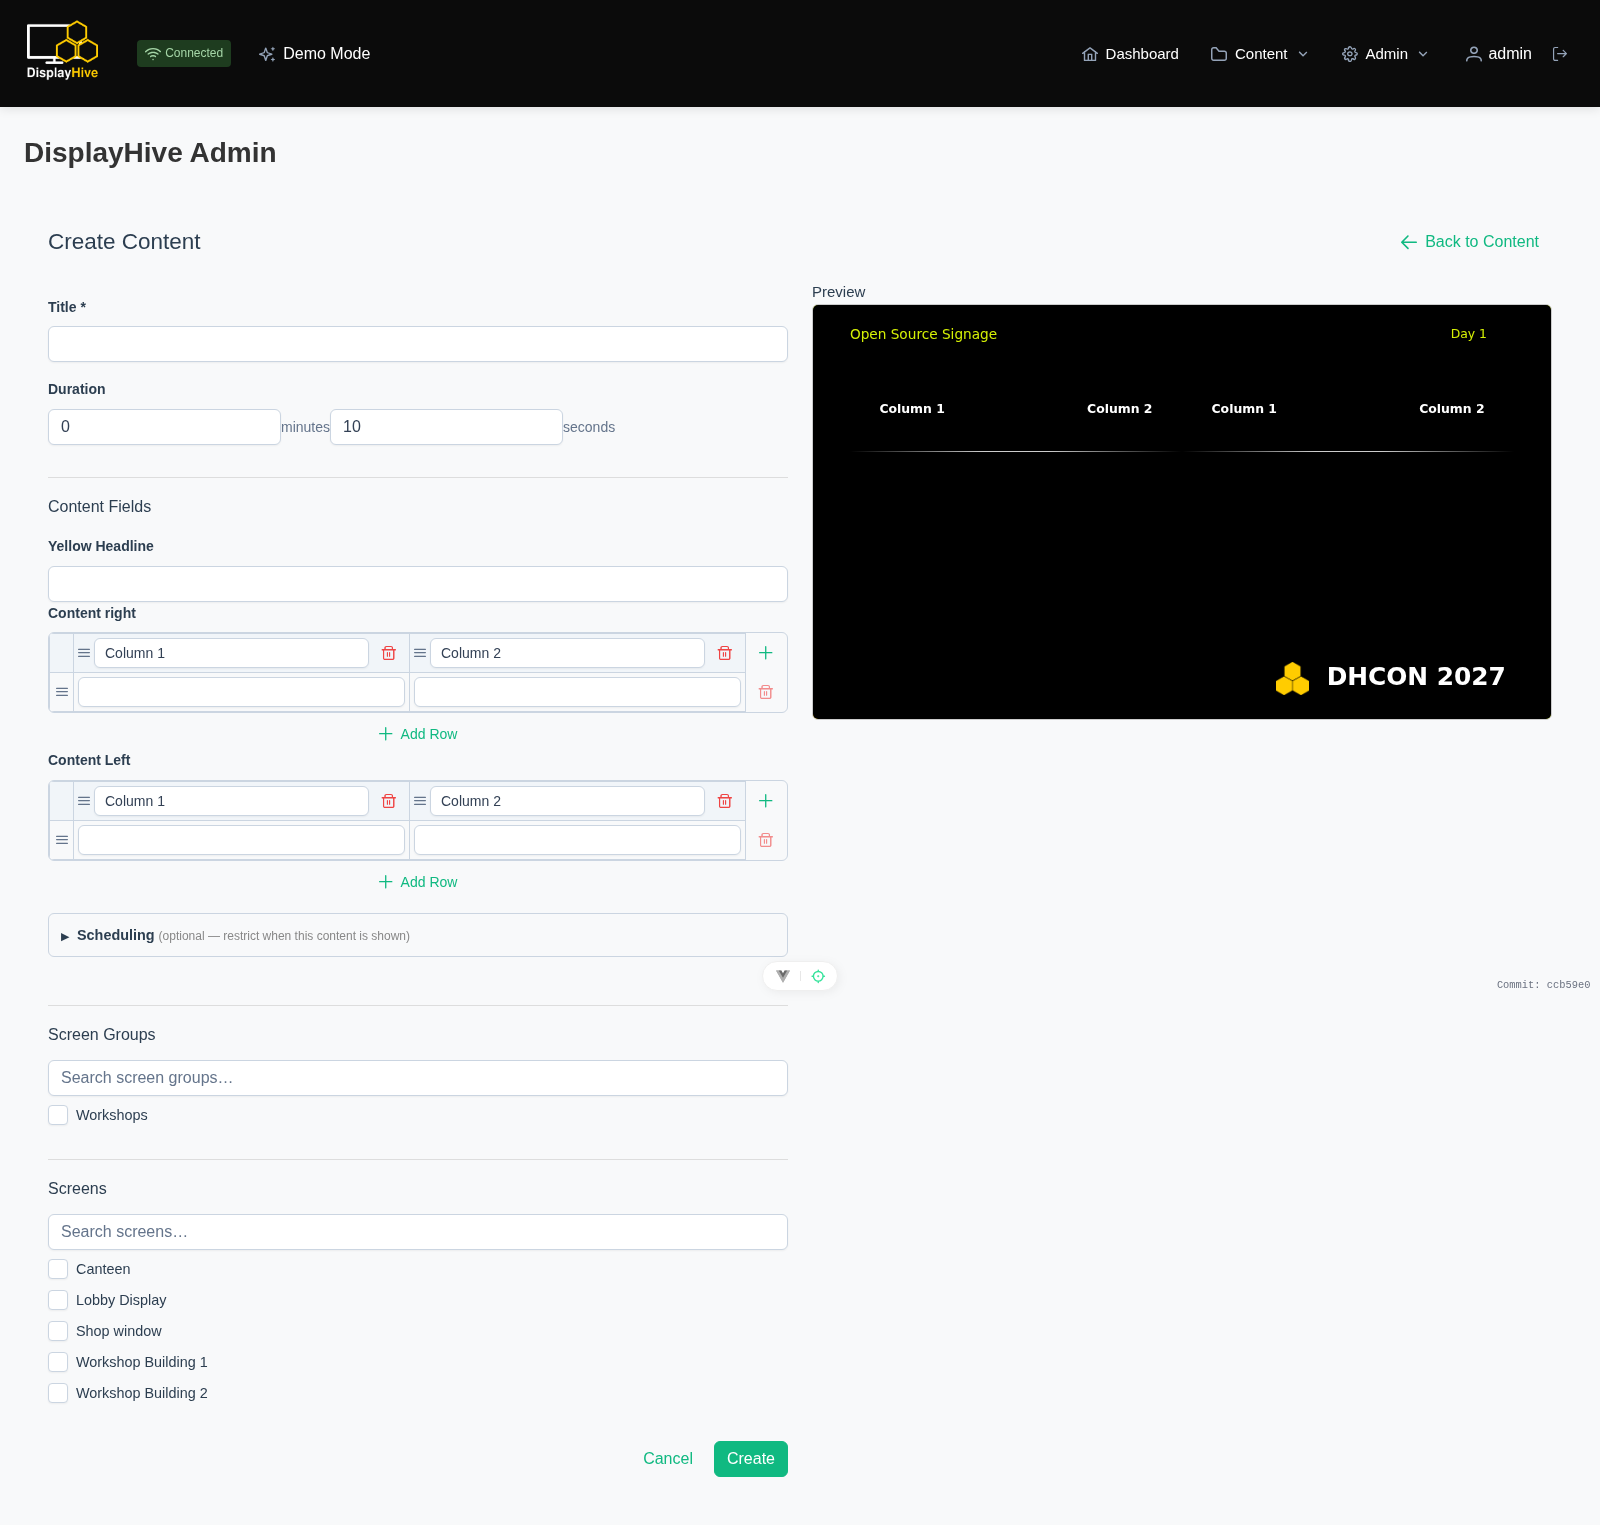
This is where most day-to-day work happens. Pick a content type, fill in its fields plus a title, a display duration, and an optional active-window range for content that should only appear during a specific date/time window. A content element isn’t tied to a single container either — it can span and fill every container its content type allows at once, targeted as one piece of content rather than moved around individually.
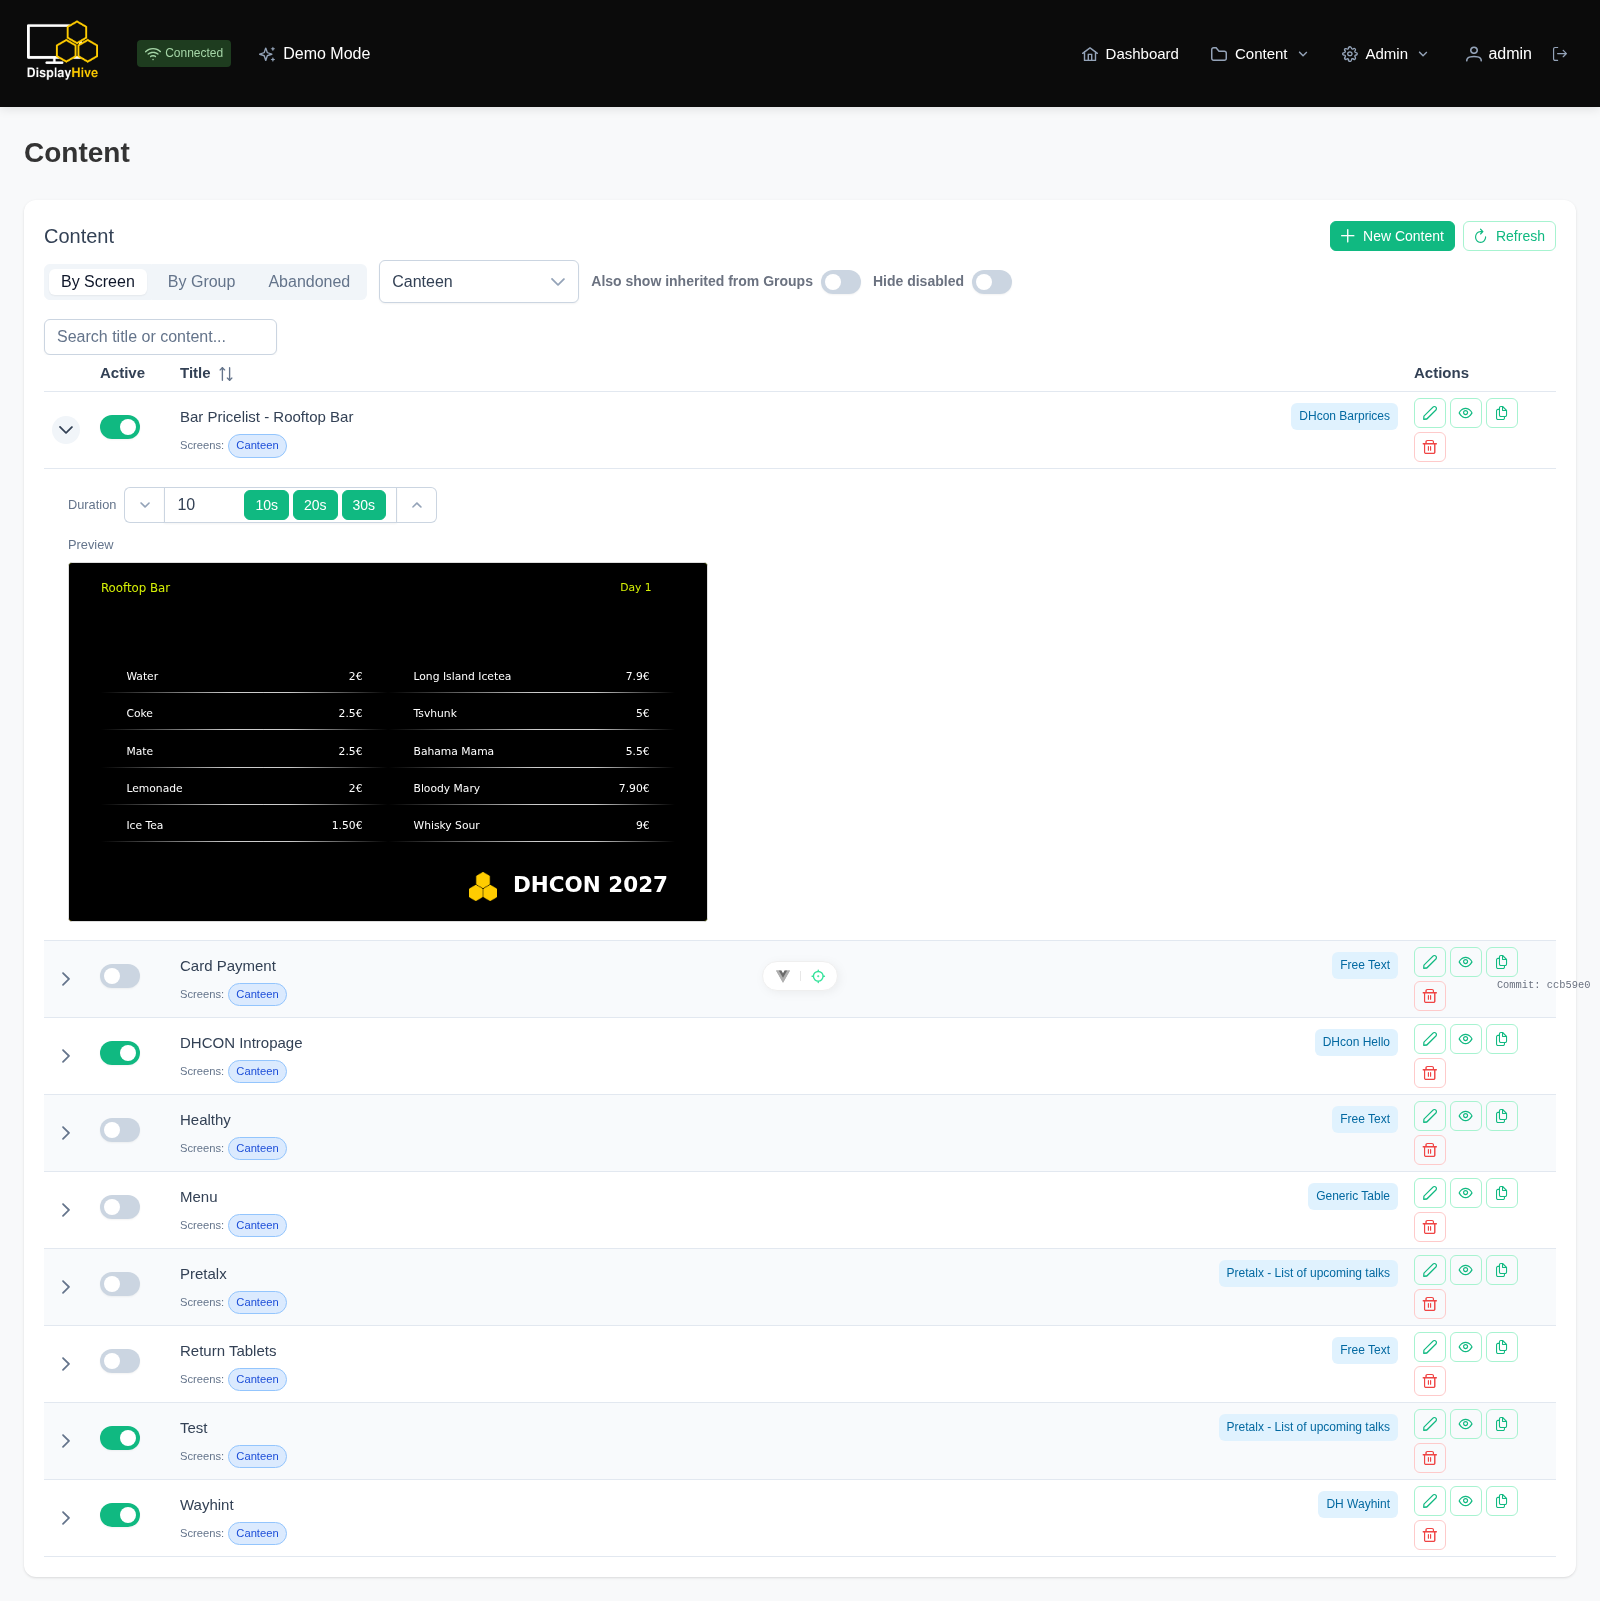
Expanding a content row shows a live, scaled-down preview of its actual rendered HTML — a nice way to sanity-check something before it goes out to a screen a hundred kilometers away.
Magic tags
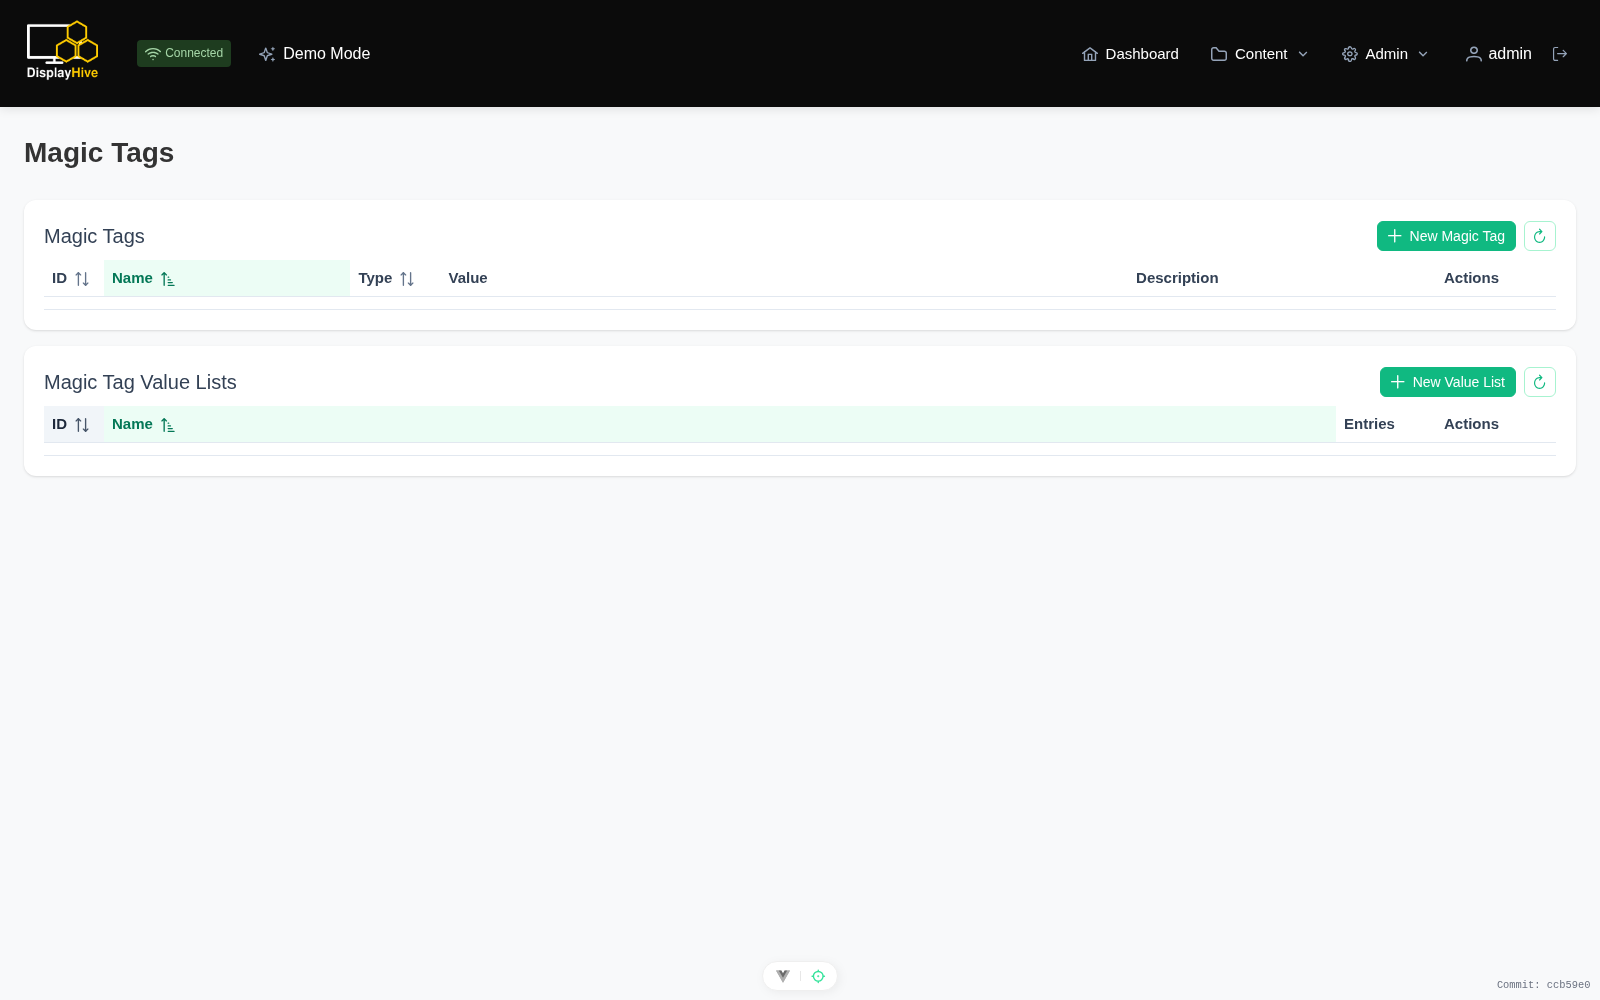
Magic tags are simple global name-to-value placeholders you can drop into any design or content type — great for values that repeat everywhere, like a Wi-Fi password or a venue name. Change the tag’s value once, and every piece of content referencing it updates instantly.
Screens, devices & groups
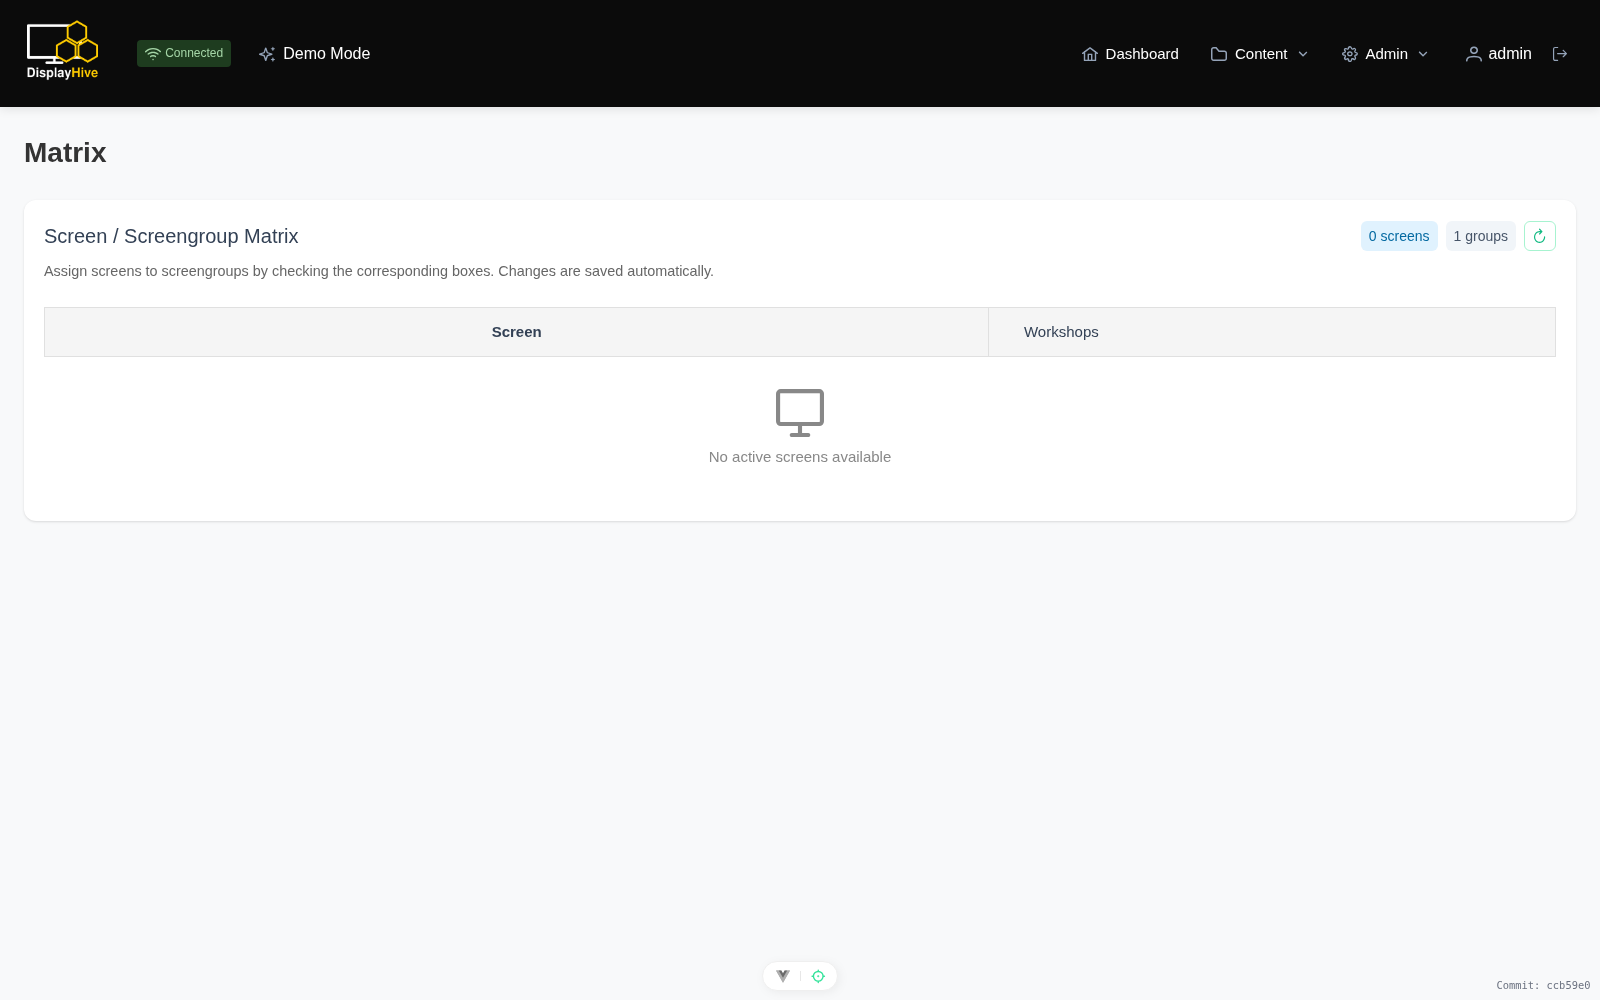
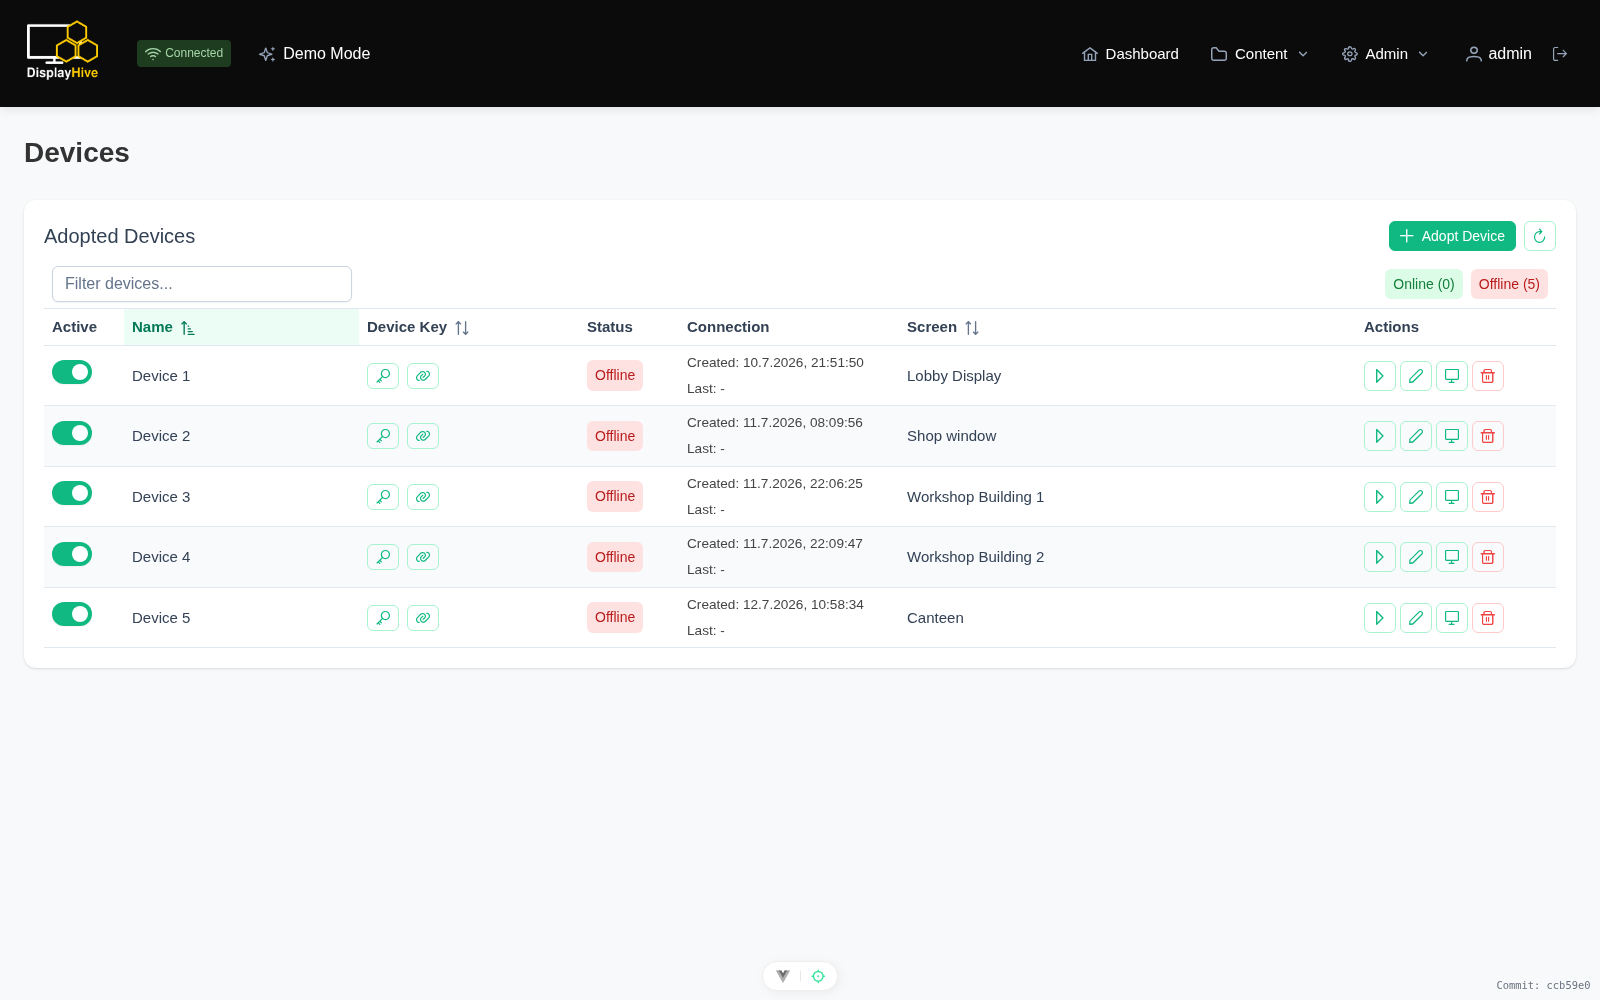
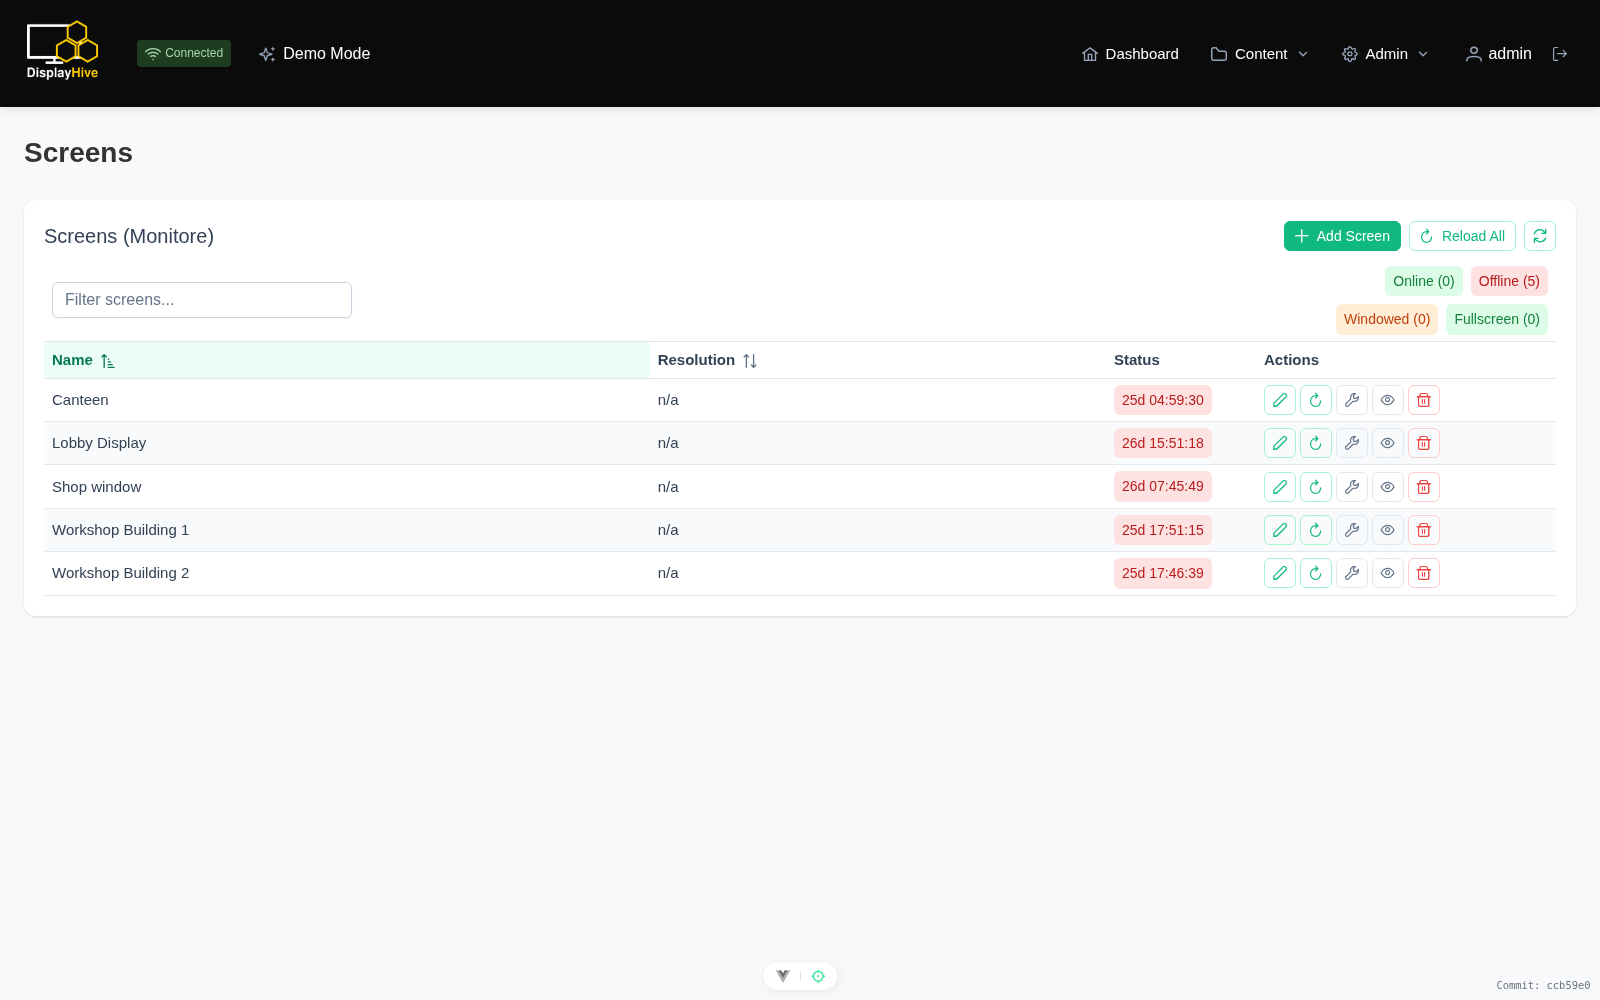
DisplayHive keeps the physical device (a browser running somewhere) separate from the logical screen it displays, and content targets groups of screens or individual screens rather than devices. There’s a dedicated matrix view for bulk-managing which screens belong to which groups. Separating screens from devices comes in handy when there are currently no devices — it lets you set up, configure, and test a whole event location before any device is rented.
Live preview
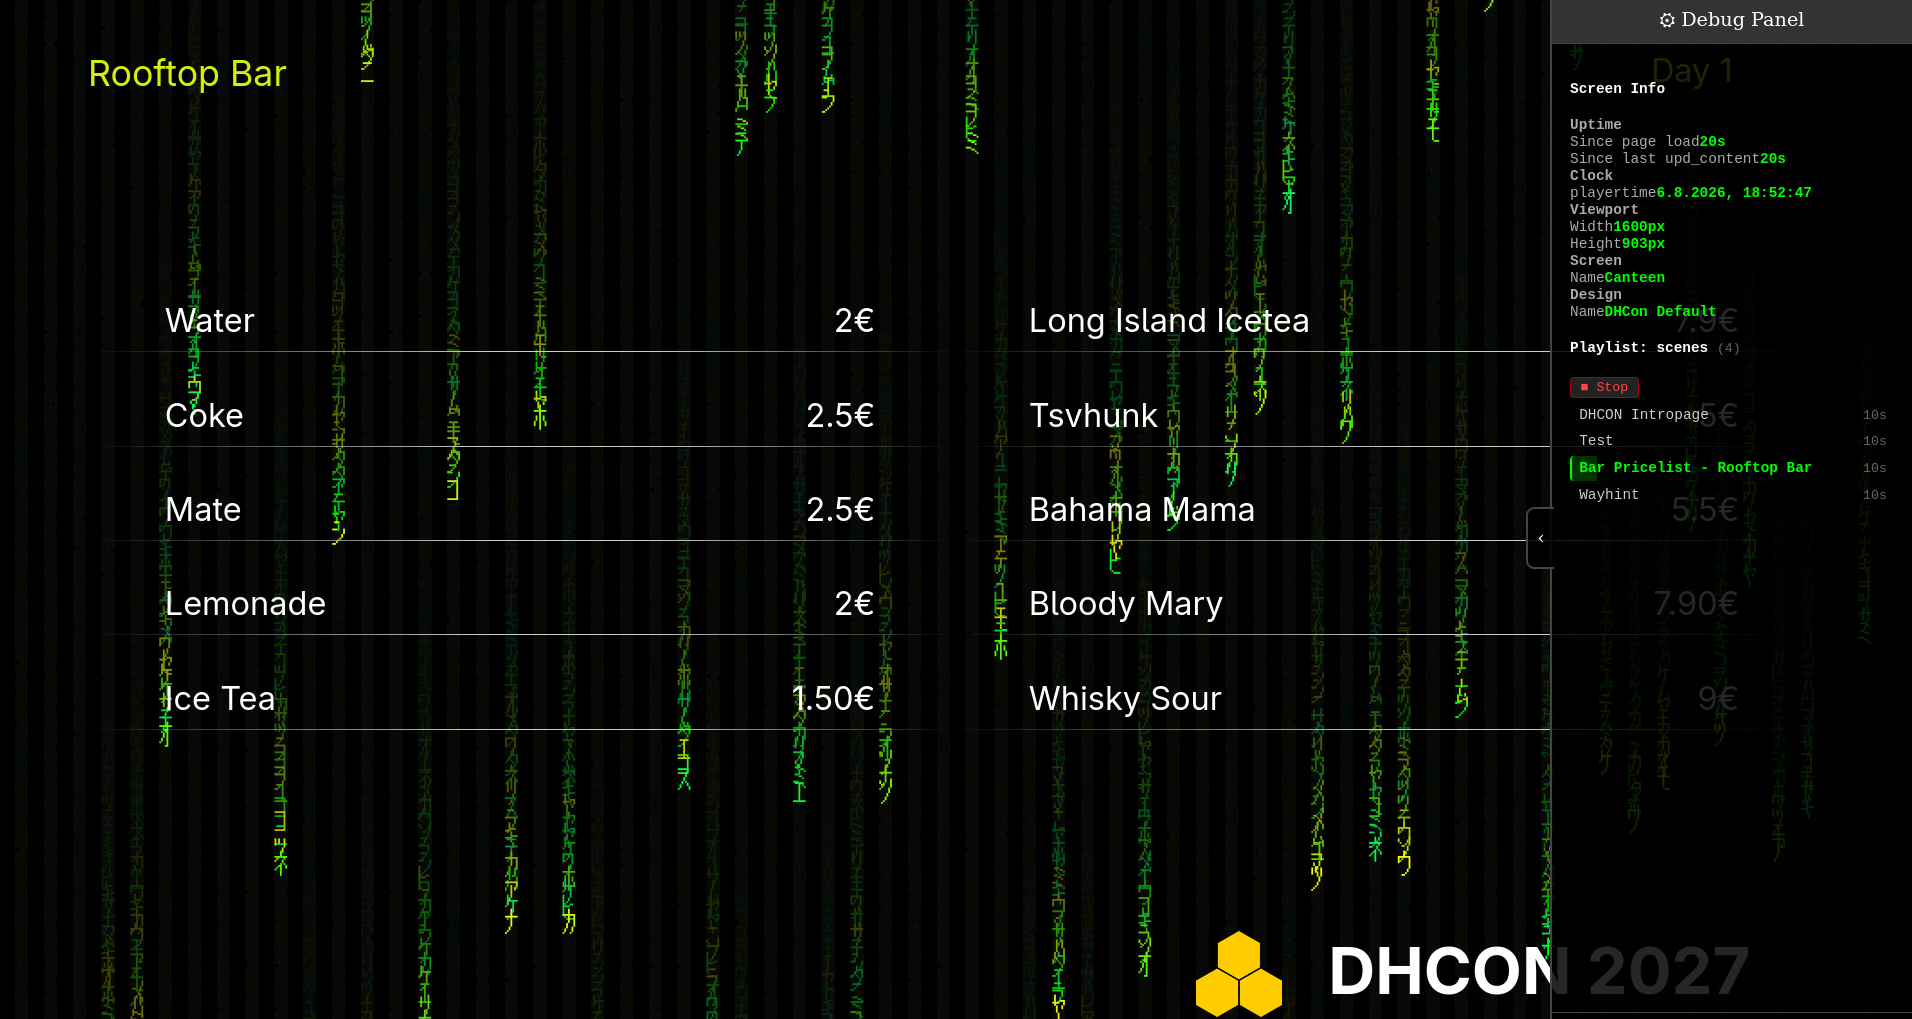
Want to see exactly what a given screen is rendering, without walking over to the physical display? The live preview does exactly that, straight from the admin panel.
Demo mode
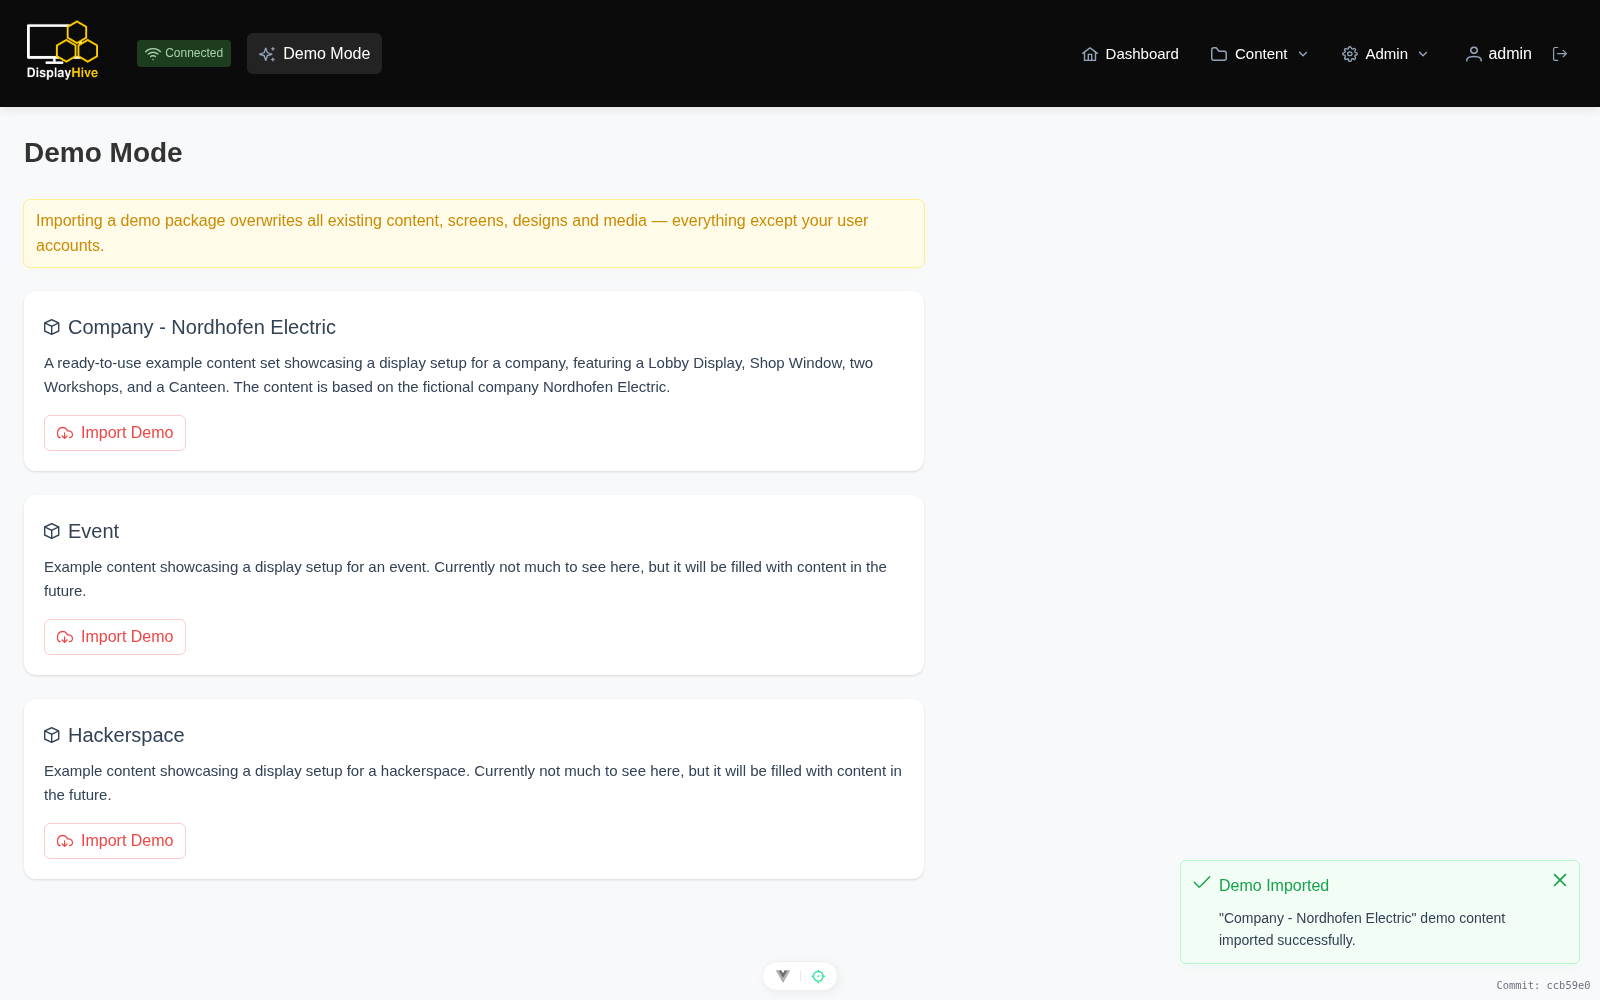
New to DisplayHive and don’t want to build everything from scratch just to get a feel for it? Demo mode imports a ready-made example content package, so the admin panel has real layouts, designs, and content to explore right away.
Pretalx integration
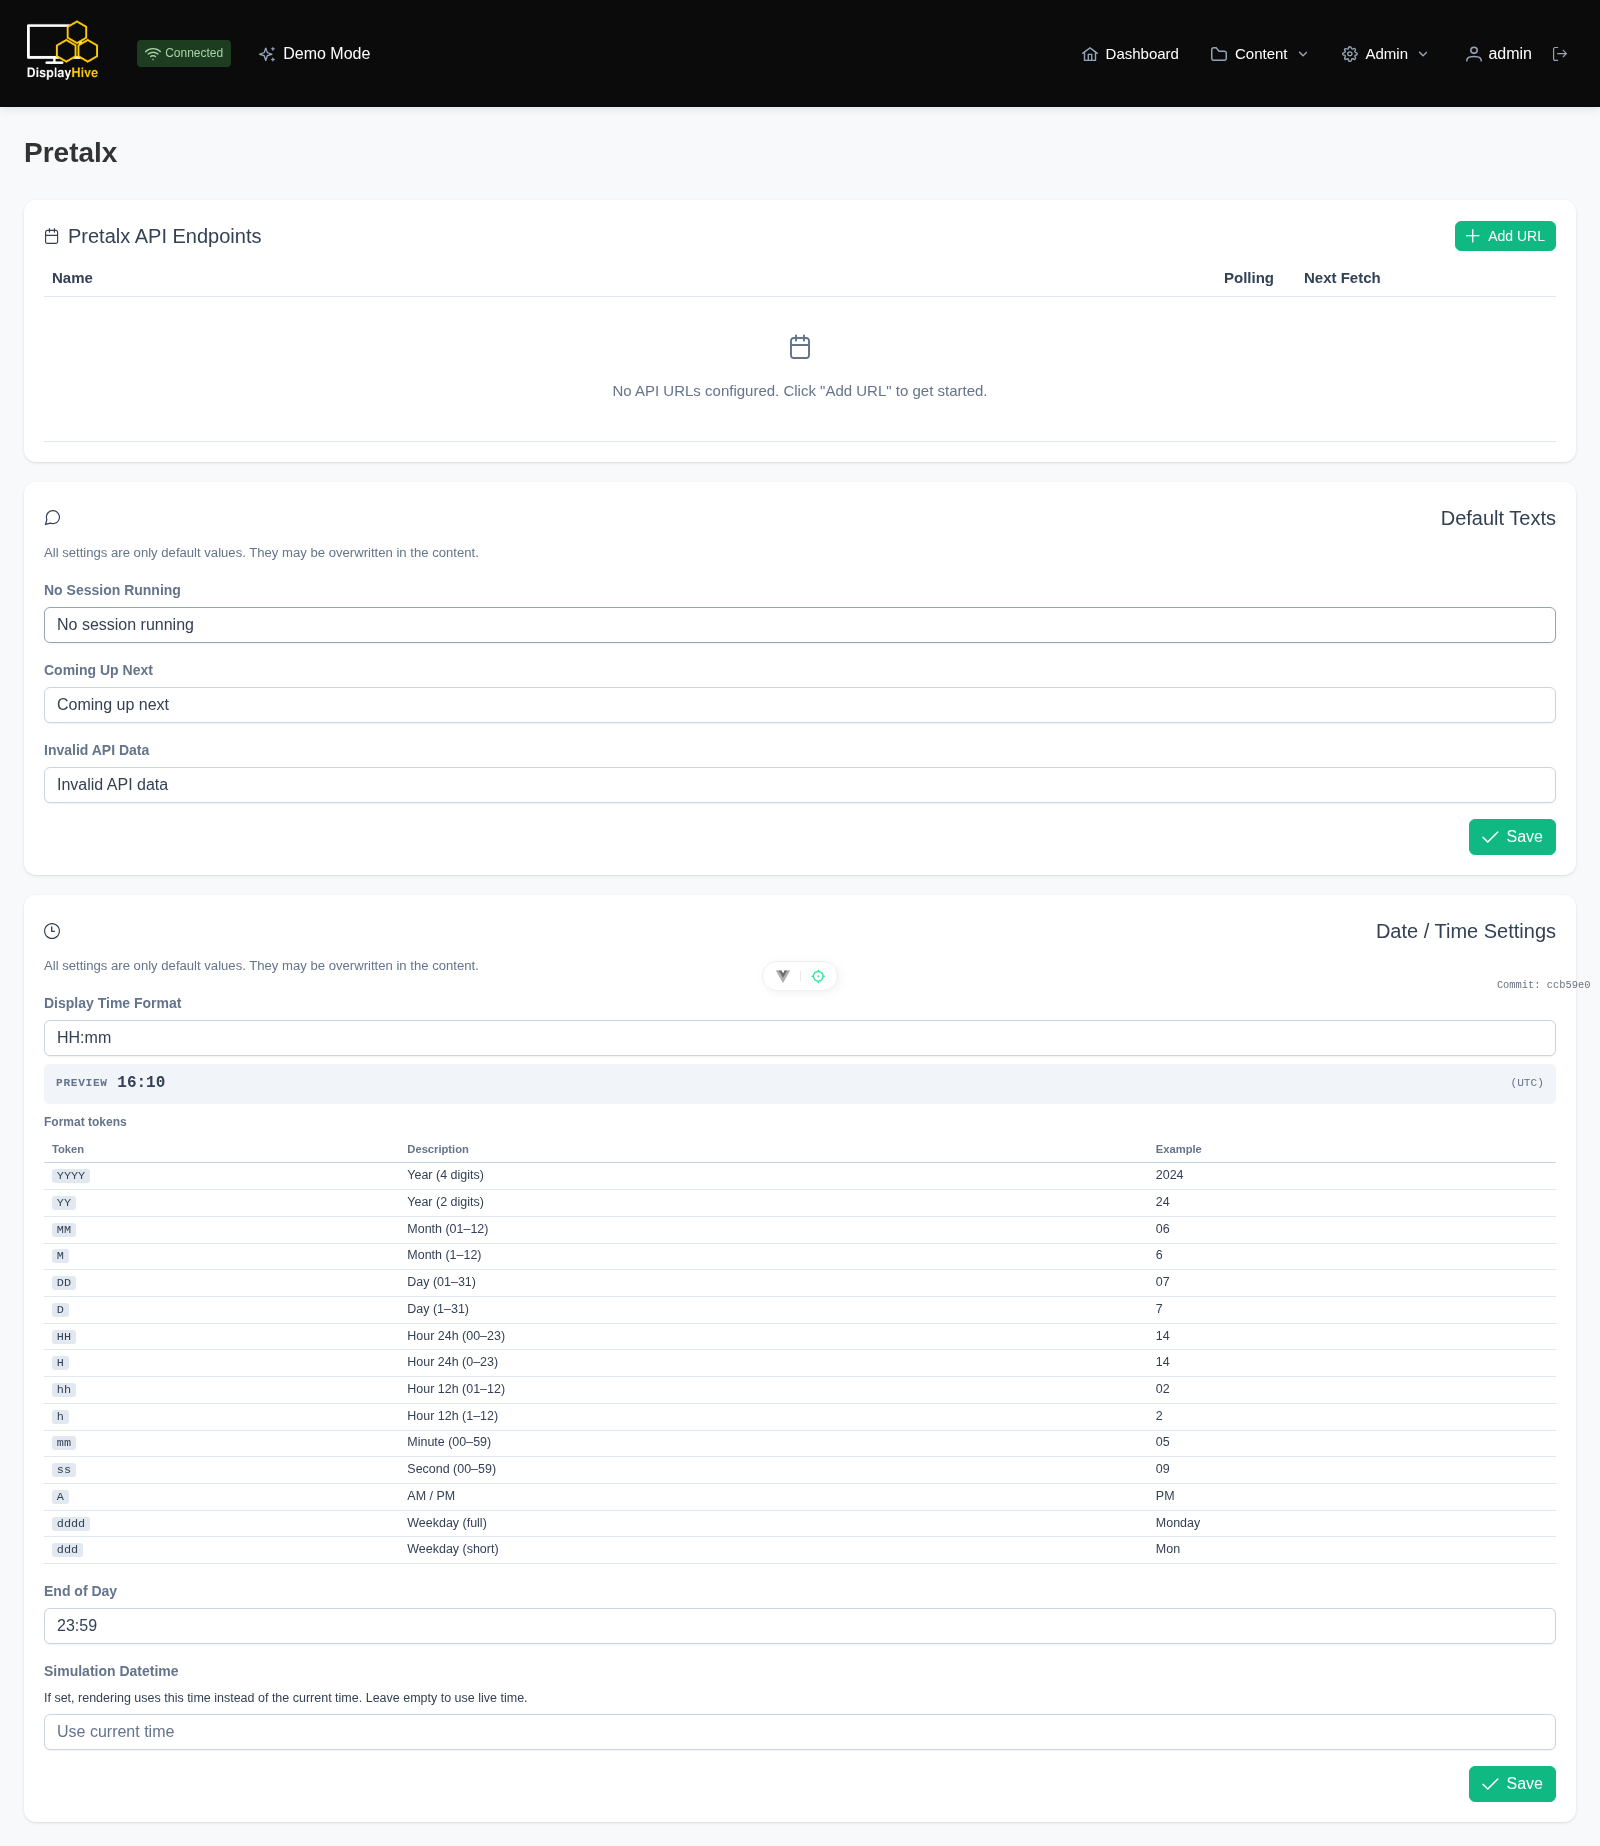
For anyone running conference signage, DisplayHive can pull a schedule straight from a Pretalx instance and render it as live content — perfect for “next up in this room” displays. It’s still marked experimental, so expect some rough edges and the occasional breaking change.
Alerting
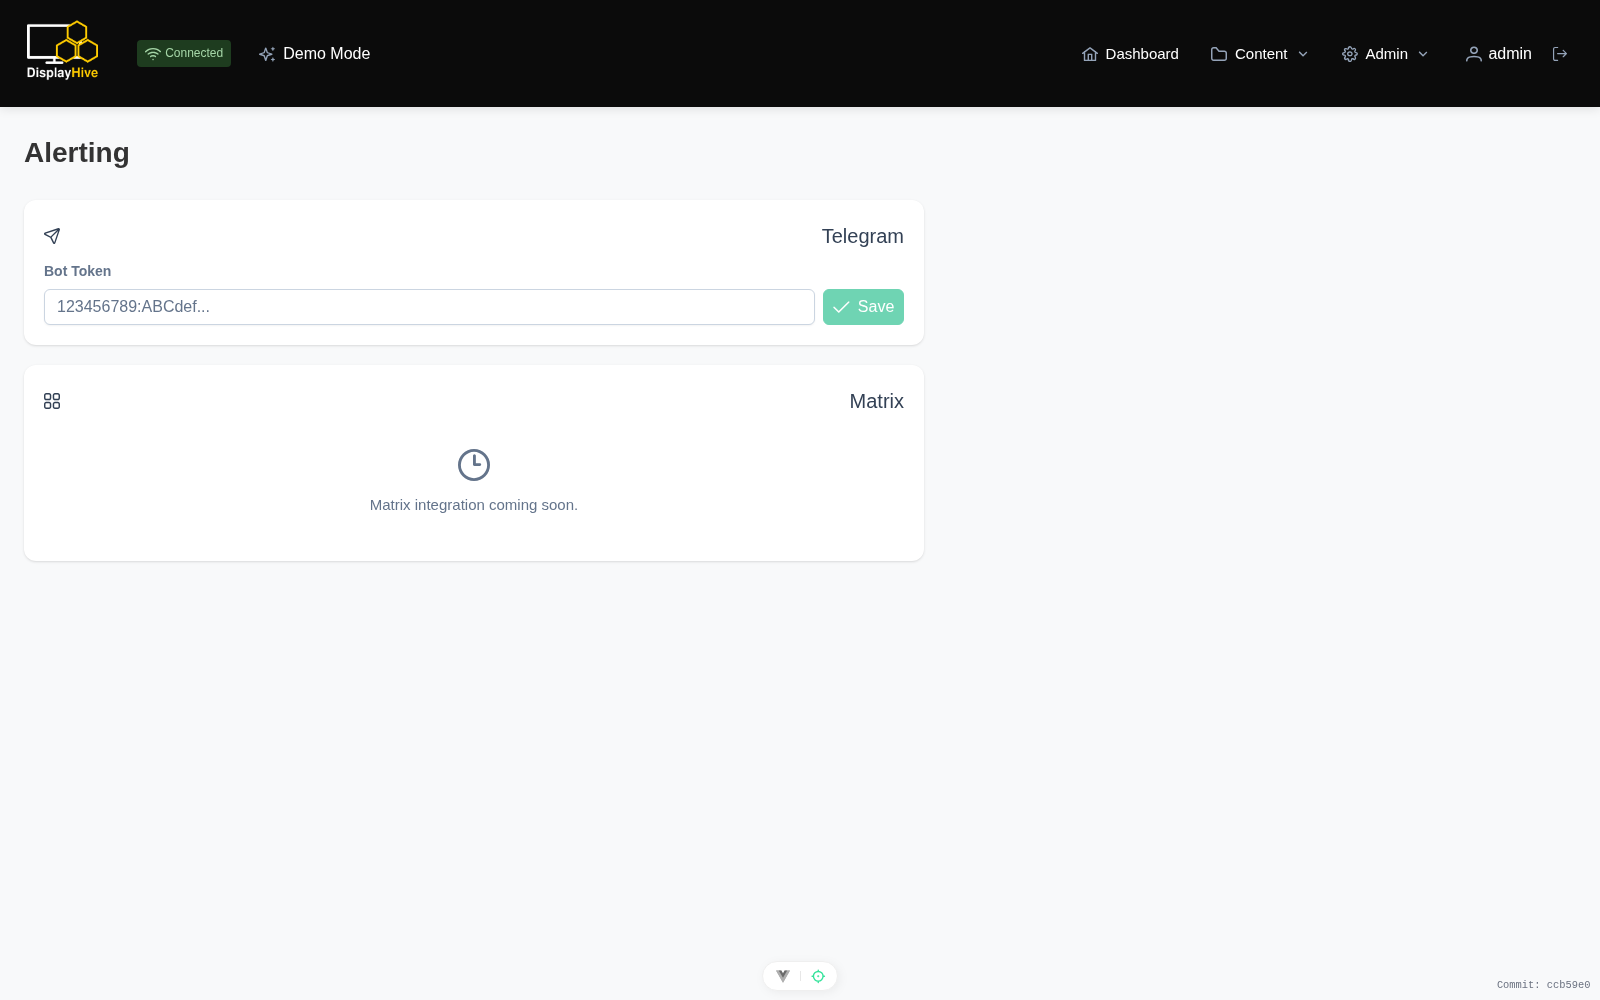
Also experimental: Telegram notifications when a screen or device goes online, offline, or hits an error state — useful for catching a dead display before an audience notices it.
Import & export
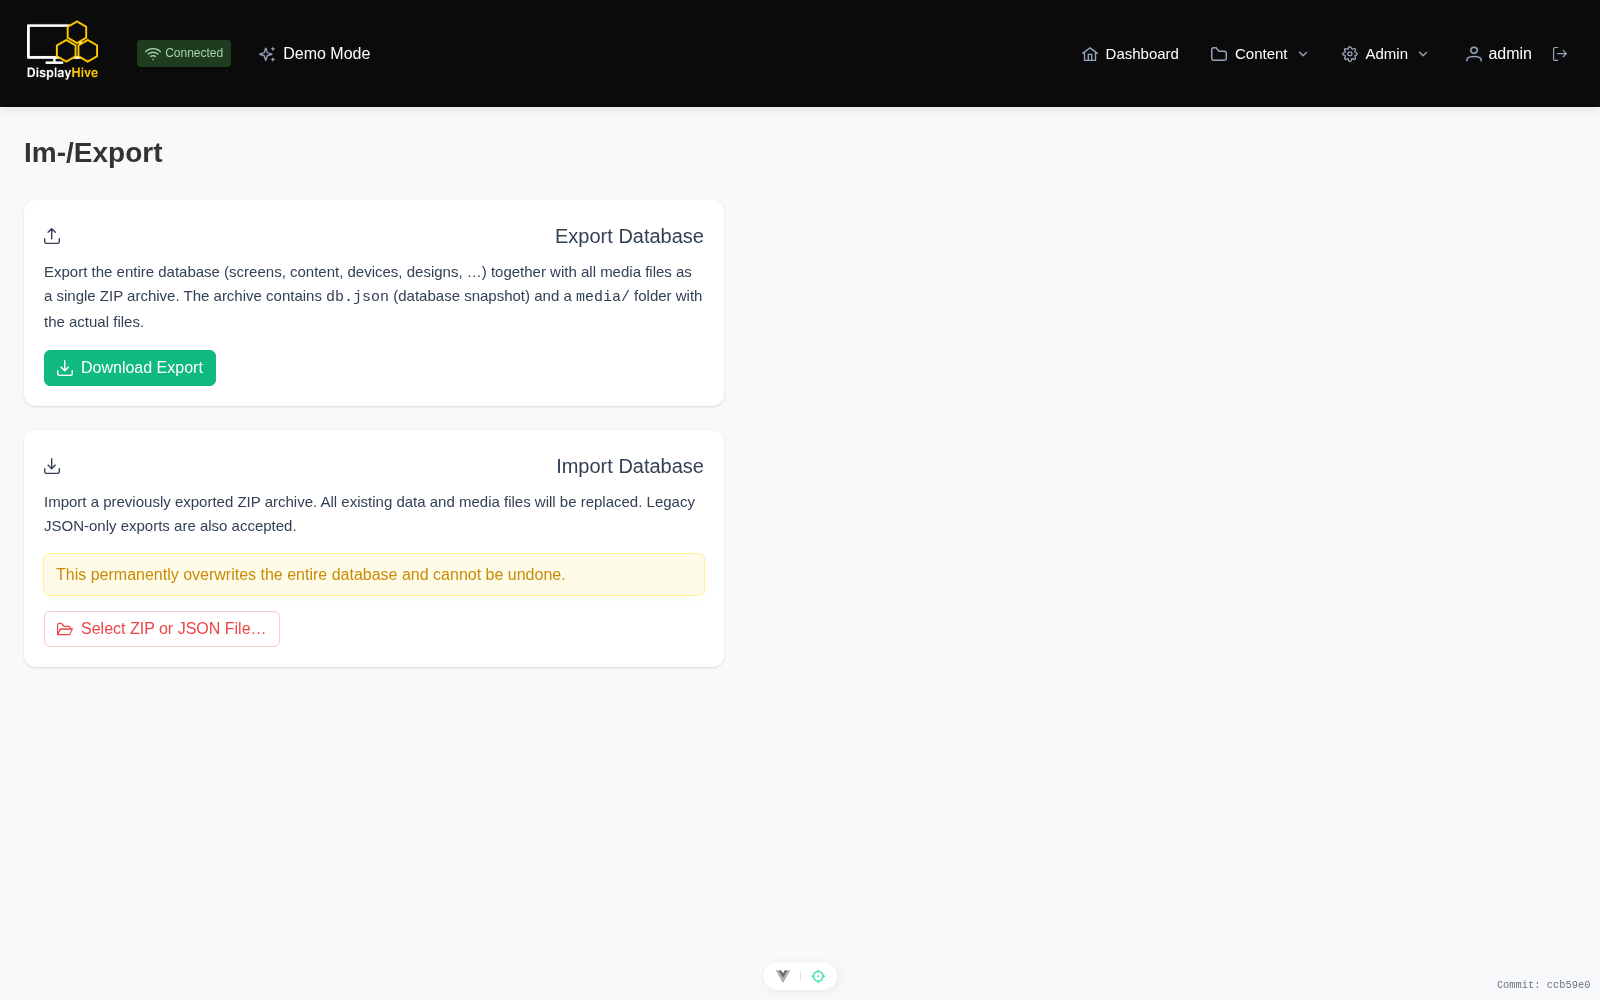
The Import/Export page backs up or migrates a full instance as a single archive — a data dump covering screens, groups, layouts, containers, designs, content types, content items, magic tags, media metadata and devices, plus every referenced media file. One button to back up an entire instance, one button to restore it elsewhere.
Wrapping up
Between login, rights and groups, and account management, DisplayHive has closed the gap that used to make it a single-person tool. Combined with the layout/design/content-type/content pipeline, magic tags, live preview, and the growing list of integrations, there’s now a genuinely complete workflow behind it — from an empty instance to a wall of screens showing exactly what you want, exactly when you want it.
There’s still plenty on the roadmap, and a few things (Pretalx, Alerting) are explicitly experimental for now. But if the last tour of DisplayHive left an impression of “promising but early,” it might be worth another look.
As always — bug reports, feature ideas, and general impressions are welcome. Open an issue on GitHub, or find us on Mastodon @displayhive@chaos.social.